Speaking of shining, it is also the time for scented candles, twinkling lights and illuminated paper lanterns.
Thanksgiving isn't a thing here in Berlin (probably because we didn't have the whole Indians-versus-pilgrims no-you-stole-my- land fiasco here (we had our own problems, trust me)), but we do have a celebration called St Martin!
St Martin was a saint now best known for (then a military soldier) cutting his red cloak in half with his sword to share with a beggar on one cold winter's night out of the goodness of his heart. It is said, the following day, the beggar revealed himself to be Jesus Christ. Soon loved amongst the people, St Martin was urged to become a bishop and is believed to have done only good during his term of office.
Today, in honor of this holiday, children make paper lanterns that they carry through the streets when it's dark creating a beautiful sea of colorful lights. Typically accompanied by a rider on a white stallion wearing a bright red coat, the kids sing songs and eat a Weckmann by a bonfire, a traditional baked good that goes with the holiday, and afterwards, they collect sweets from the neighbors - not without performing a song about good old St Martin to each and every one.
Perhaps you can now see why it was so difficult for me to establish a Halloween tradition in my home town after moving to Germany - everyone expected me to produce handmade lanterns while serenading them when all I had was a witch's broom and foul threats...
But that lies behind me now. Plus, Halloween is starting to take some kind of shape here now; we're getting there.
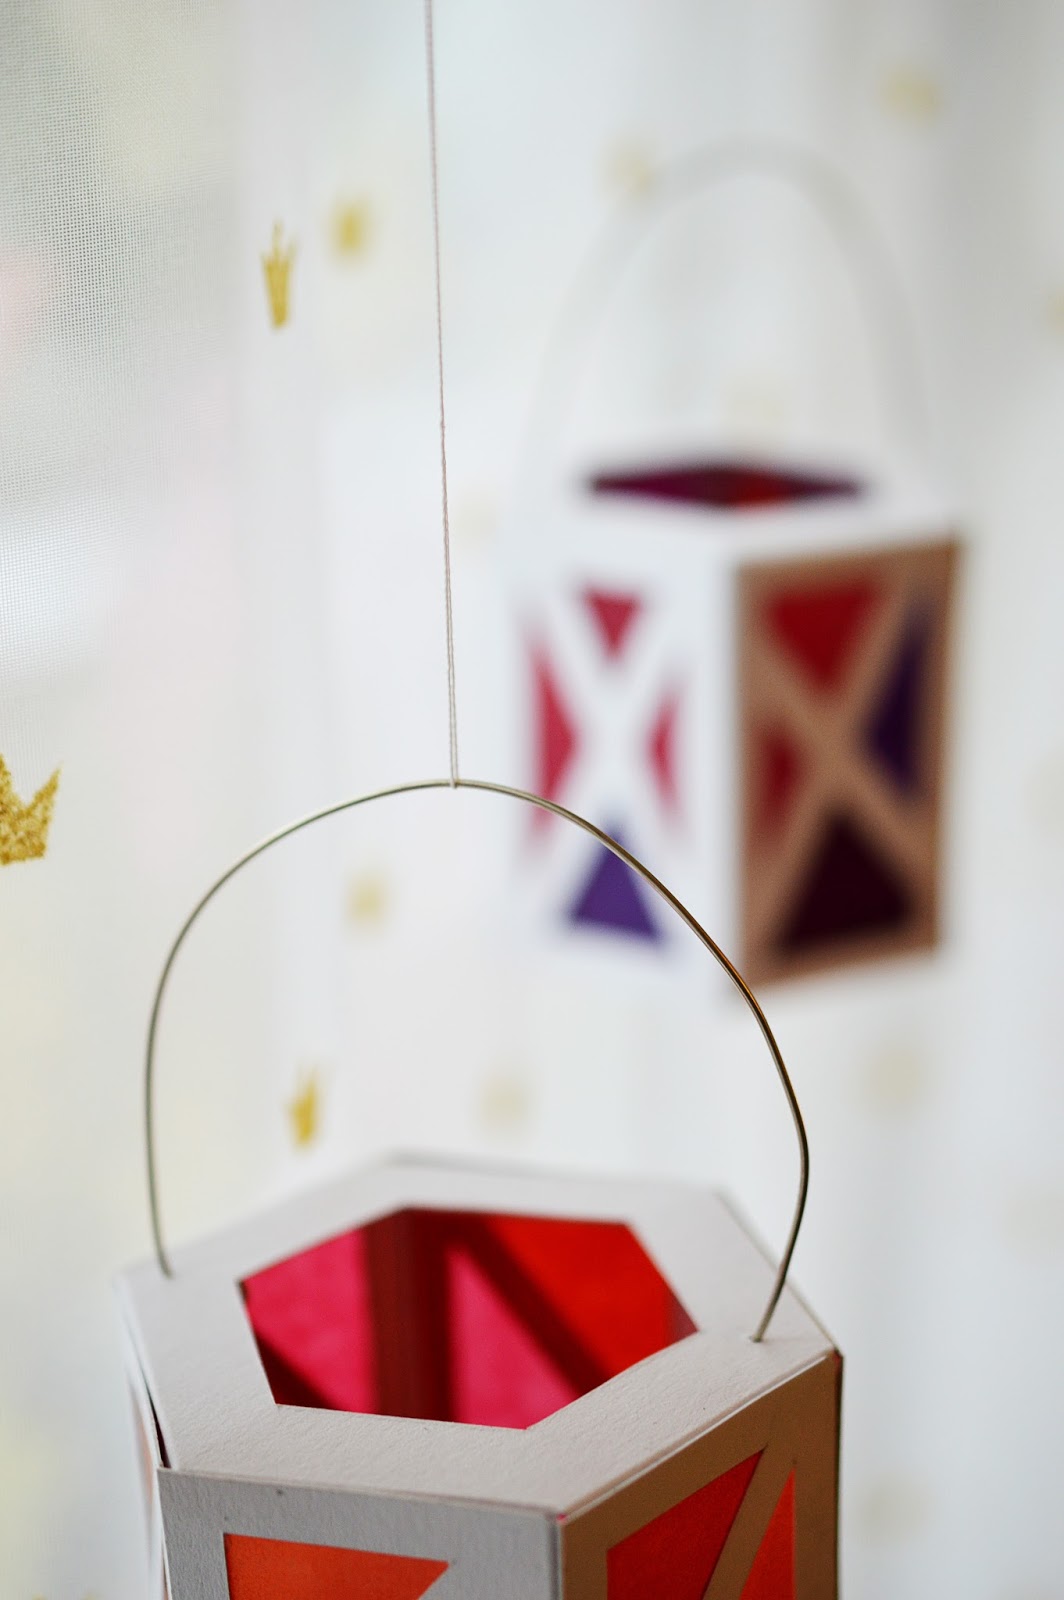
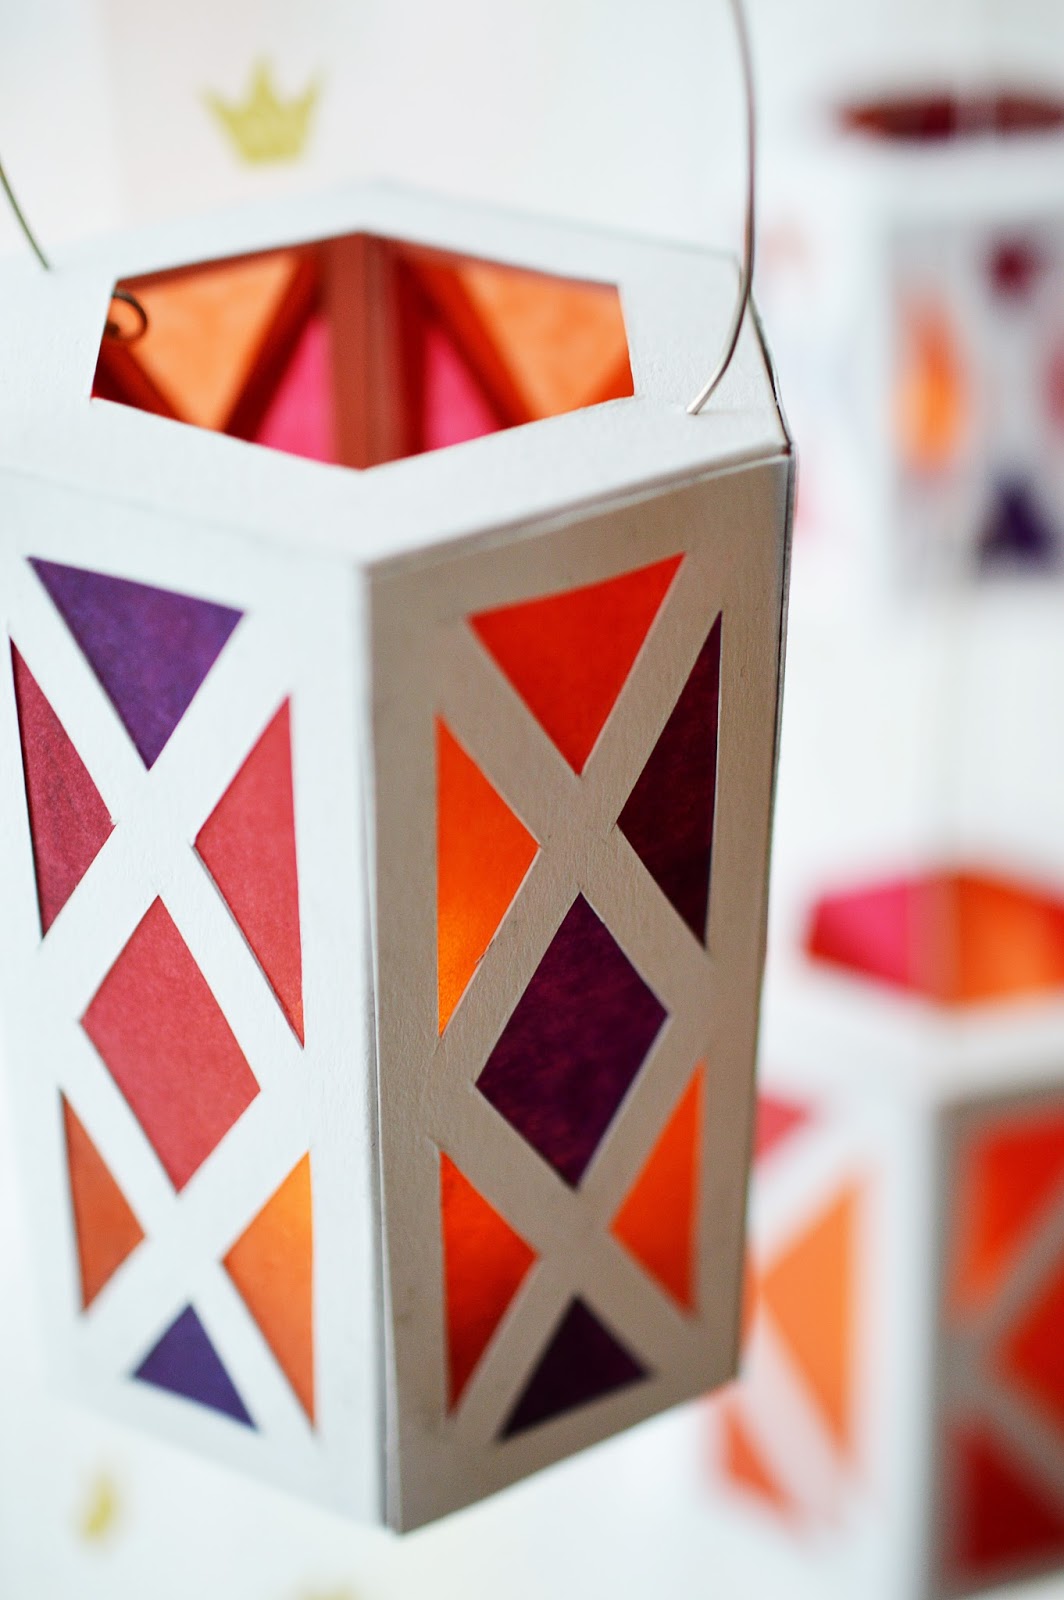
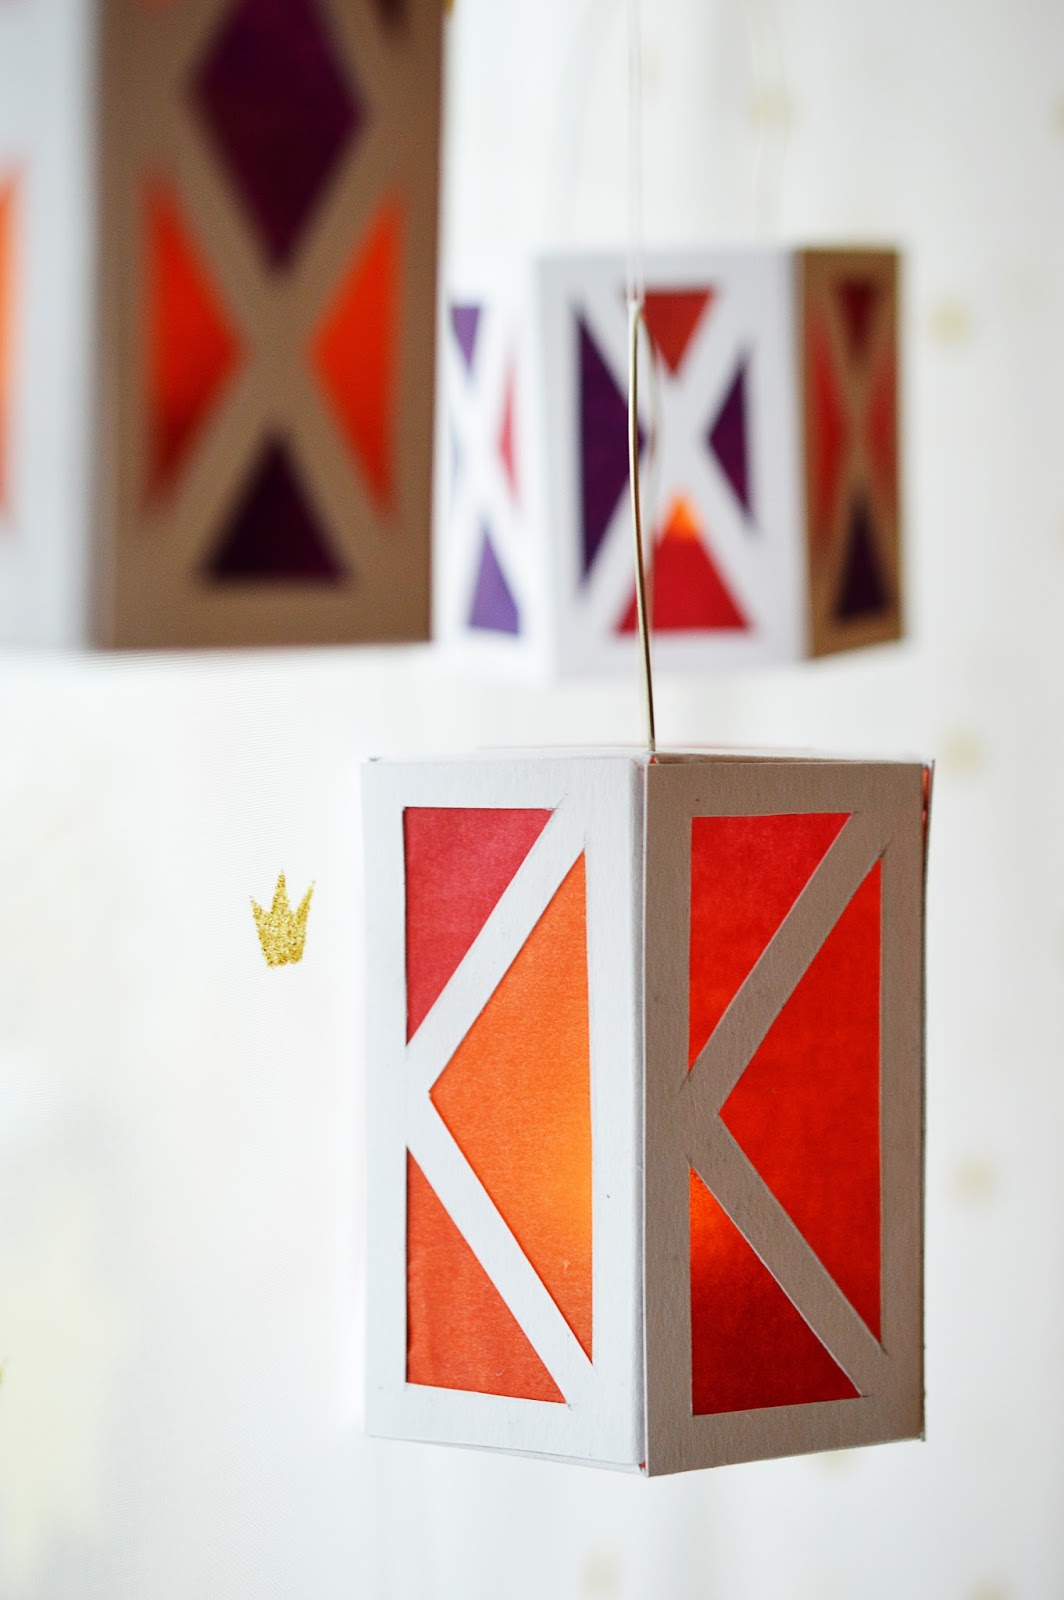
Now although I am no longer a child, I felt the urge to make my very own paper lanterns this year; tiny ones to hang and perfect for a Thanksgiving tablescape too!
WHAT YOU'LL NEED:
- ruler
- pencil & eraser
- scissors & exacto knife / cutter
- paper
- white cardboard paper
- transfer paper
- colorful wax paper / transparent paper
- glue
- thick needle / safety pin
- crafting wire
- pliers
- thread
- battery operated candle
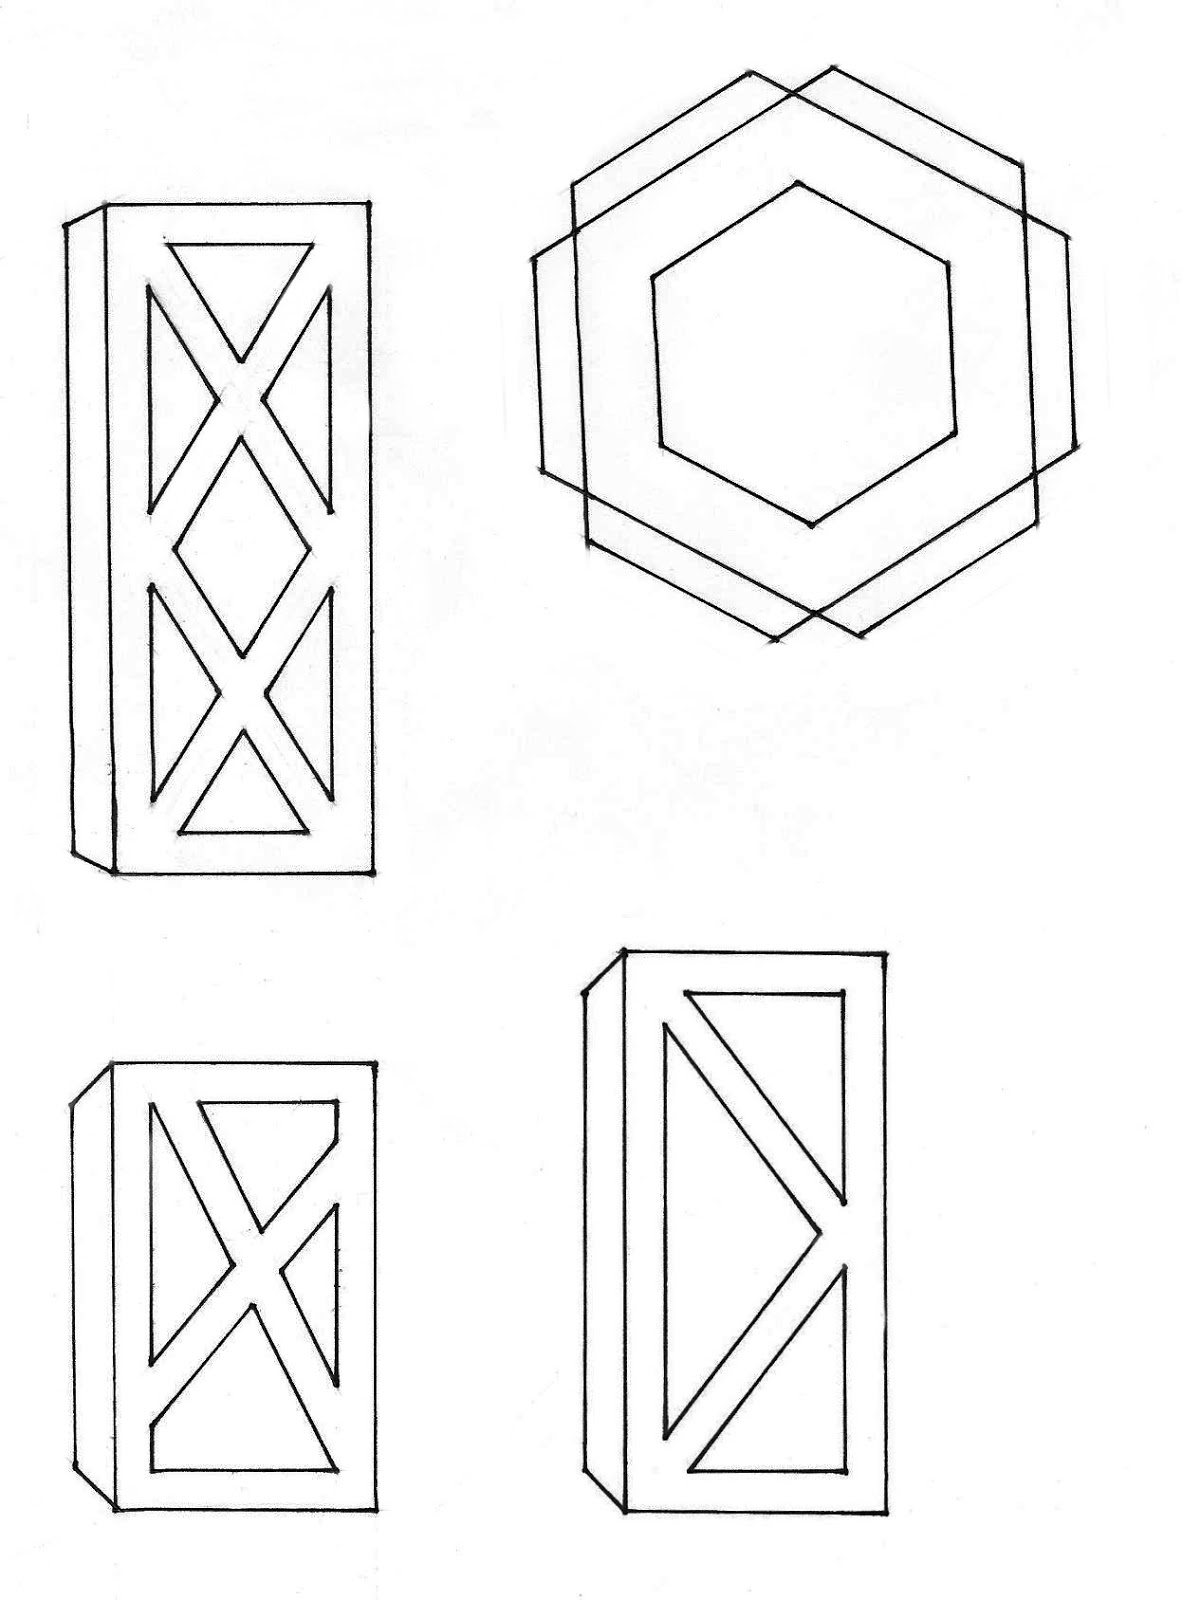
Step 1: Using a pencil and ruler for help, create a template on a sheet of paper, or print off the template above (right click to save as). Transfer onto the cardboard paper using the transfer paper. For one lantern, you will need eight pieces: six identical side pieces, one bottom piece, and one top piece/roof with the middle cut out.
Step 2: With the ruler and a pair of scissors, cut out all eight pieces. Use the exacto knife to remove the cut-aways in the center of each piece. Try to be as precise as possible so that the sides will align perfectly.
Step 3: Fold up the elongated sides meant for overlap and gluing. You can use the back of the exacto knife or a pair of scissors to score these beforehand. This makes it easier to fold them if the cardboard is relatively thick. Make sure not to cut through the paper though.
Step 4: Glue colorful transparent paper to the back of each of the six sides. I used three different colors. By layering them I ended up with six different color options.
Step 5: Glue the six sides to the bottom piece of the lantern, as well as to each other. Do so by applying glue to the overlapping folds. Make sure to glue to the insides of the lantern so that the folds aren't visible on the outside. Lastly, add the roof and let dry.
Step 6: Using a safety pin, poke two holes on opposite sides of the roof and thread a piece of crafting wire through them. On the inside of the lantern, use pliers to form a loop. This way, the wire won't slip back out. Add a long piece of thread for hanging.
Step 7: Place a candle inside, display and admire. For safety reasons - particularly because the lantern is so small - use a battery operated votive.

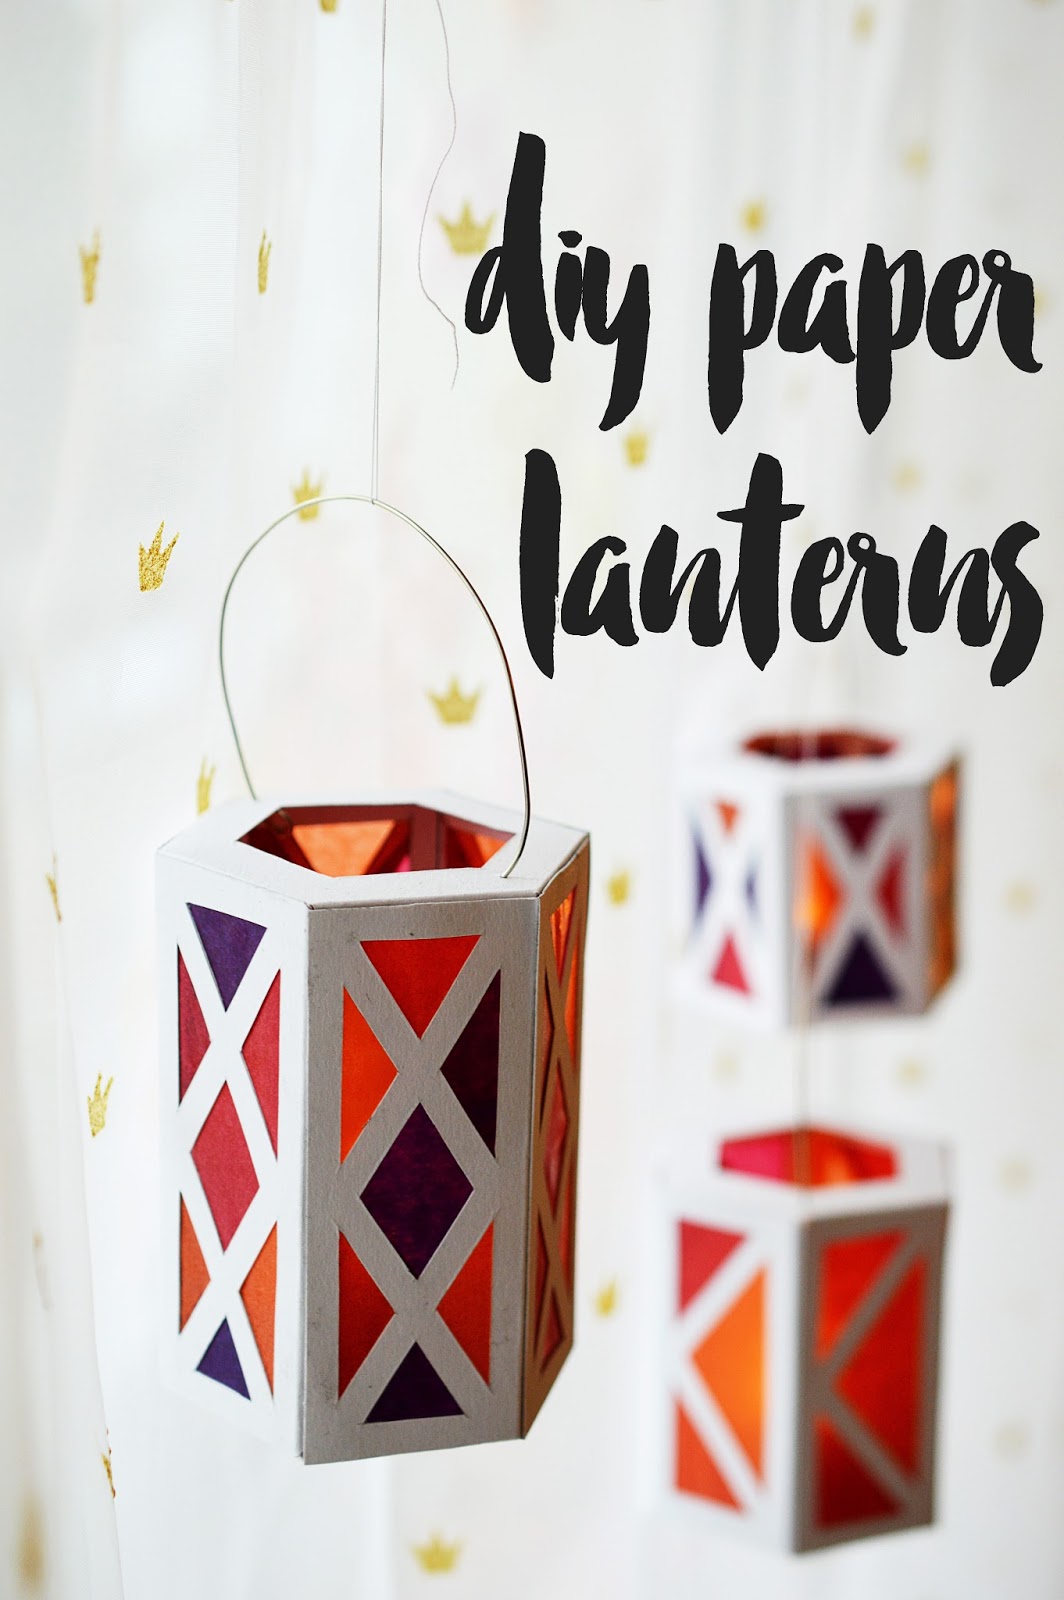


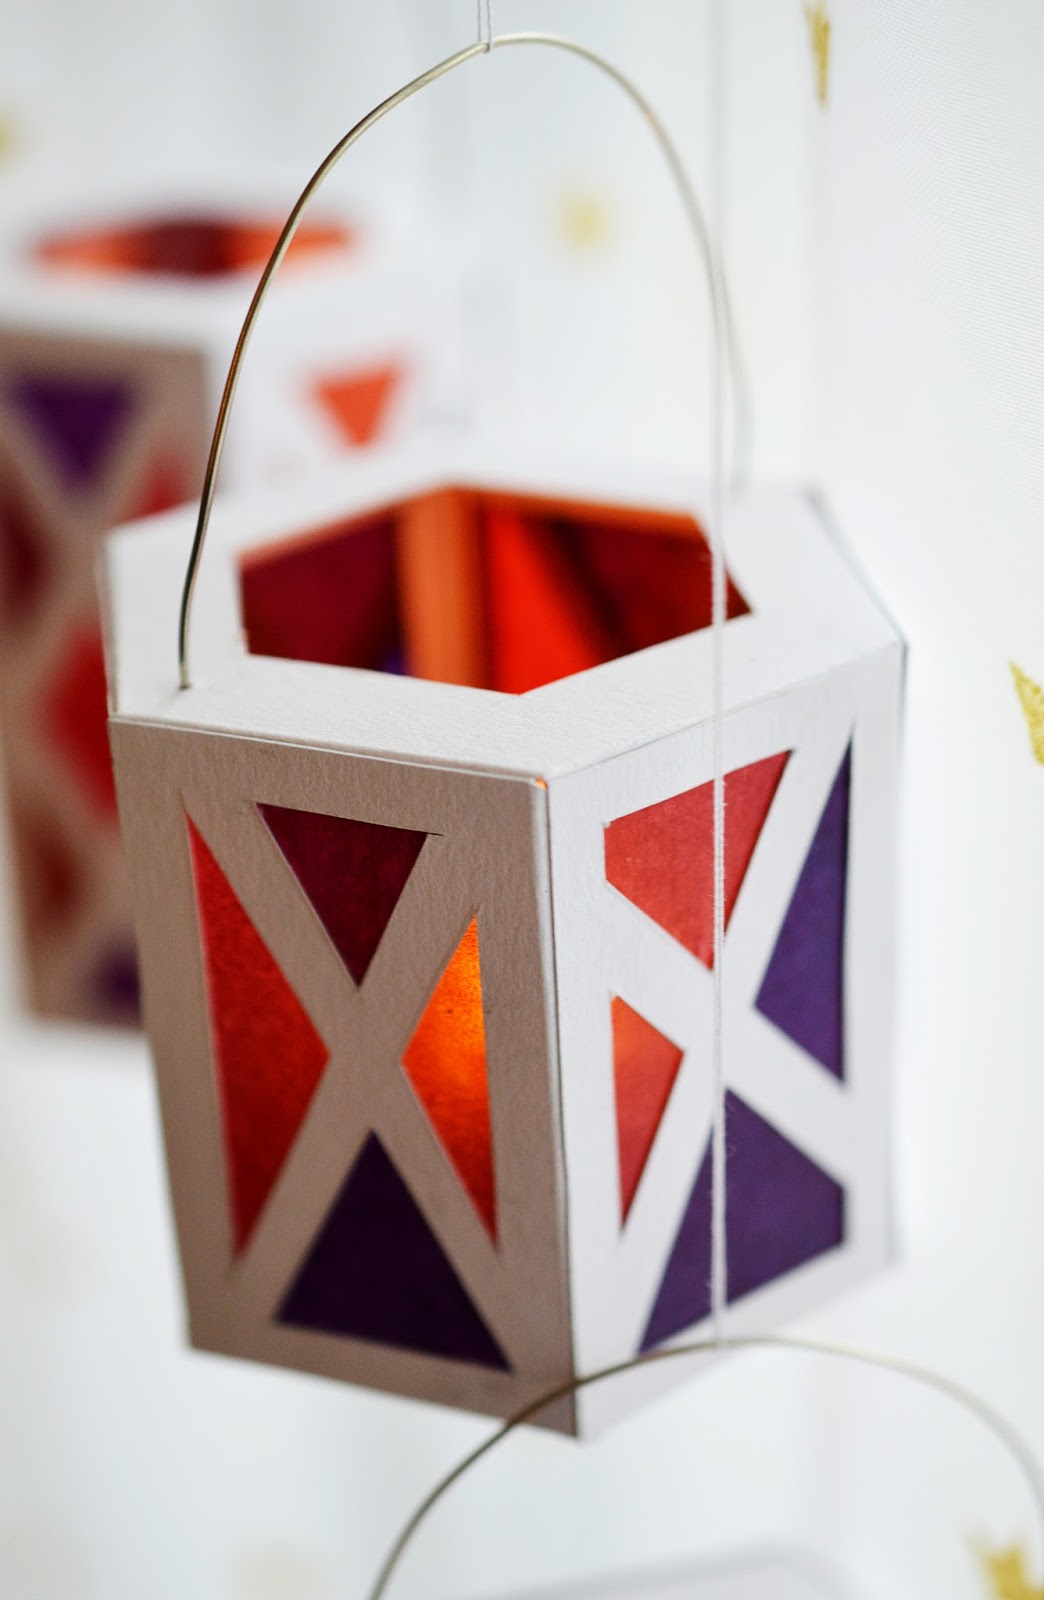

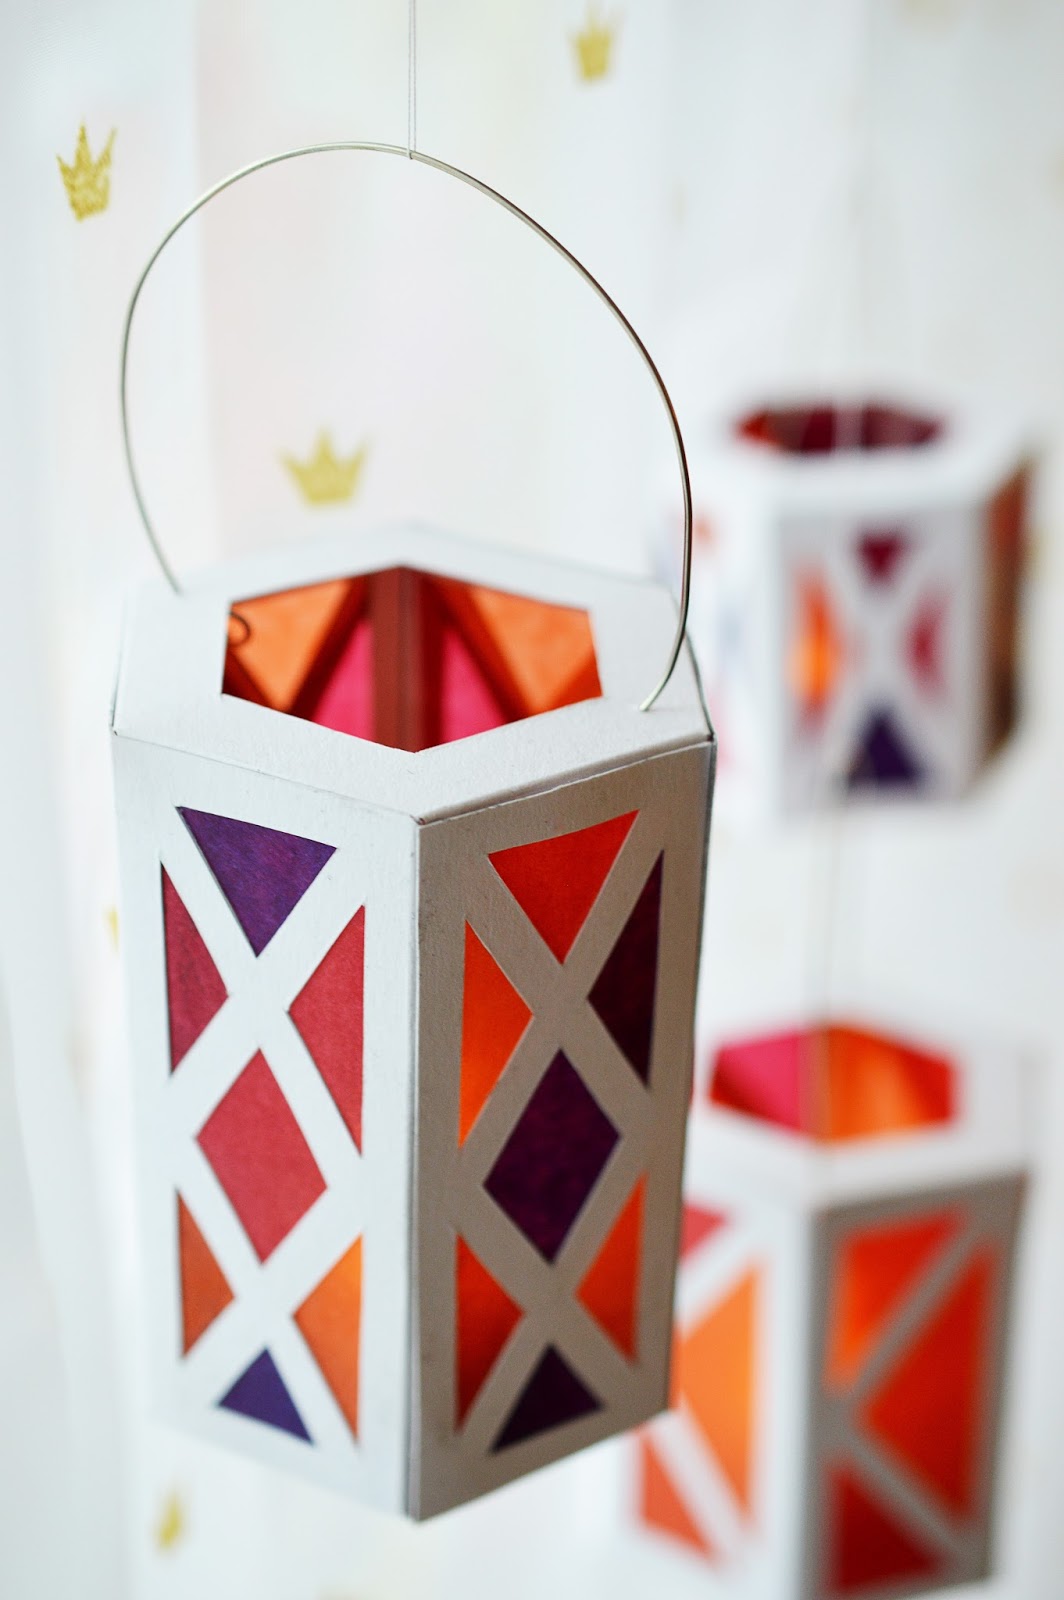





Wow, die Laternen sind total schön geworden! So schön einfach und minimalistisch!
ReplyDeleteLiebe Grüße, Mira
lieben Dank! Einfach, und haben doch eine tolle Wirkung - sehr zu empfehlen!
DeleteHow nice of you to out of your sheets for cutting out. Saldy I don't have the time right now for doing handicrafts. But you latenterns turned out very pretty! :)
ReplyDeleteYou are very welcome! You should give them a try once you have a little more time on your hands!
DeleteThanks so much for this tutorial. I shared the link yesterday via my newsletter and it's proving to be very popular!
ReplyDeleteWow
ReplyDeleteSuch an excellent diy project.
ReplyDeleteHello, this looks so fun. What kind of glue do you use?
ReplyDeleteHey Christina! I used a simple craft glue for paper, but also a hot glue gun could work!
DeleteHi can I ask if i can make this diy with cardboard???? I want to make this more durable and btw i rlly like your craft :)
ReplyDeleteCardboard shouldn't be a problem, I would make them larger then though. And be sure to use a fire retardant spray or use LED lights.
Deleteis there any video availlable for this
ReplyDelete