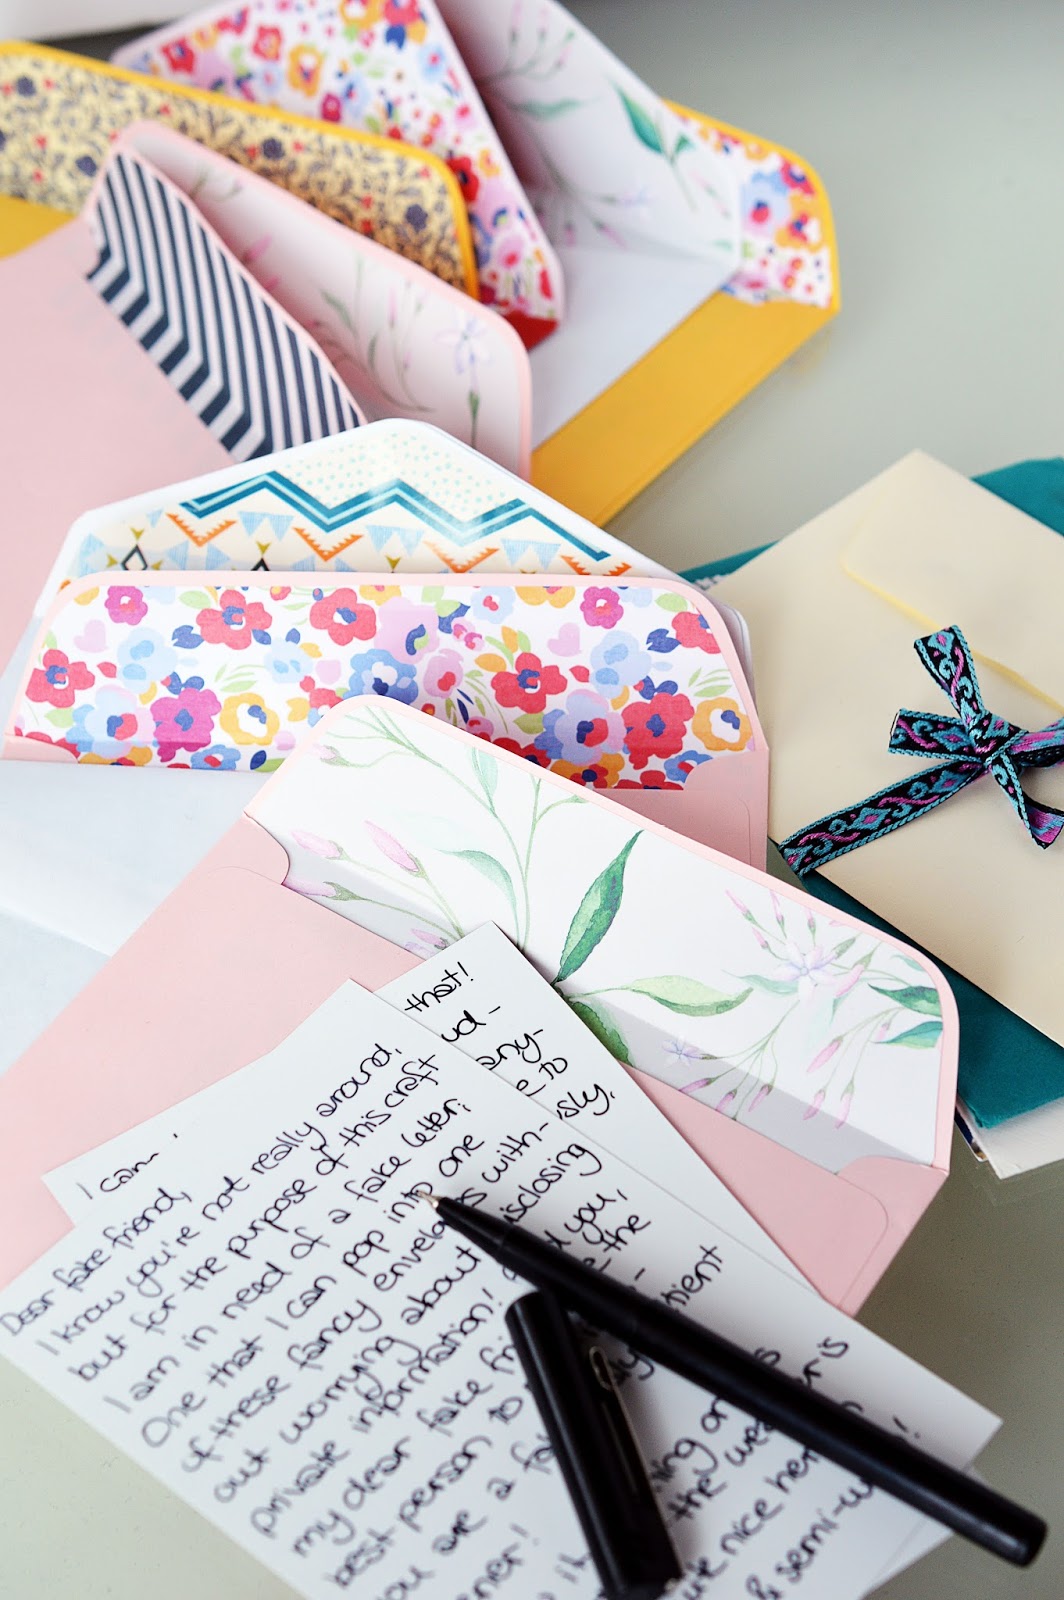
Greetings from a maniac. Judging from these pictures you probably think I am a crazy bridezilla planning a royal wedding, à la "Just 300 more invitations to go!"
But no, I'm really just writing good old-fashioned letters. You know, putting pen to paper. Taking the time to find the nearest post office that's still open once I've finished up at work. Waiting weeks on end for a reply.
The worst is probably realizing that by the time you've actually received the expected response so much has happened that you could write a novel. But simply don't have the stamina. (Otherwise obviously I would. Totally worth it.)
So you just make do with a 2-page synopsis of current affairs.
When I first started off writing letters - at quite a young age I should say - it didn't even occur to me that letters and envelopes could even exist in any other color than "pure white" or "off white". "Eggshell" maybe, but let's not take this too far.
Of course I would let my crayon friends lend me a hand when it came to brightening up any greeting card.
But pre-cut cards with patterned inlays and fancy borders? Printed, embossed and bedazzled?!?
I guess at some point then I discovered the wide world of stationery.
And the price tags that come along with it.
So it seems I was always lucky to have such a creative mind. And a thing for crayons.
Not much has changed since I would say. I still can't bring myself to spend more money than necessary on trees cut into fancy sheets of paper.
So since I'm currently back in the letter-writing business, why not take the opportunity to pimp my outgoing mail?
I love the idea of envelope liners, because they are subtle, but add an element of surprise.
And then I discovered all the wrapping paper in my closet and went a little nuts.
Obviously, I have enough to go around, but if you'd like to make your own lined envelopes,
HERE'S WHAT YOU'LL NEED:
MATERIALS:
- decorative, thin craft paper or wrapping paper
- envelope
TOOLS:
- scissors
- pencil
- (eraser)
- glue stick
Step 1: Cut a piece of craft paper or wrapping paper to roughly the size of your envelope while the flap is opened, but not smaller.
Step 2: Lay the envelope on top of the craft paper (again, with the flap opened) with the pattern facing downwards and lightly trace around the envelope. If you accidentally colored the envelope, remove with an eraser.
Step 3: Remove the envelope and cut out the tracings. However, do not cut directly onto the pencil strokes, but slightly inside of the shape you created, approximately 2mm away from the border.
Step 4: Insert the inlay into the envelope with the pattern facing upwards and fold the flap of the envelope down to create a crease in the inlay.
Step 5: Fold the envelope flap back up, but keep the flap of the inlay folded down. Add adhesive to the back with a glue stick and fold the flap back up so that it adheres to the envelope flap. Let dry. If you are using an envelope with glue strip, simply remove the protective foil and press the inlay against the flap.
If I wasn't excited about writing letters before, I sure am now!


Thank you, this adds a lovely personal touch. I have someone overseas, it is very important for them to receive mail, a hand made little lined envelope like this brings home a bit closer to them. Thank you for sharing.
ReplyDeleteThank you, little owl! ;) You should definitely send some of these envelopes overseas, I can tell you from experience that they are well received ;)
DeleteLiebe Motte, das sieht wirklich ganz entzückend aus und wäre die ideale Möglichkeit, um ein paar meiner schönen Stoffreste zu verwenden. Ich frage mich nur, wie du die Umschläge verschließt, bevor sie sich mit der Post auf den Weg machen. Evtl. von außen mit einem hübschen Klebeband? Dann könnte es der Empfänger besser öffnen...
ReplyDeleteOder mit Klebestift?
LG, Kirstin
Liebe Kirstin, das ist ein guter Hinweis. Ja, Washi Tape zum Beispiel eignet sich sehr gut, da es das Papier nicht so sehr zerreißt beim Öffnen. Ansonsten verwende ich auch gerne Sticker (habe da so tolle, die wie Briefmarken aussehen). Die kann man mit einem Brieföffner auch leicht durchtrennen. Ich finde es besonders schön, Briefe mit einem hübschen Bändchen zu umwickeln. Das geht aber nur, wenn du den Brief persönlich Im Briefkasten einwirfst, denn die Post wird ihn so nicht akzeptieren. Heute geht alles maschinell und die Bändchen würden sich in der Maschinerie verfangen..
DeleteViel Spaß beim Basteln und liebe Grüße!
You shared a wonderful diy project.
ReplyDelete