May and June are the birthday months it seems. It gets a little calmer only in the later summer months. That is, until November when the madness resumes in celebration of the fall children. Such as myself.
Don't get me wrong, I love a mad birthday bash. And I surely don't mind a cheese-cake stuffed fudge cake with an Oreo base sprinkled with chocolate-orange bark and caramelized walnuts, but do all my friends have to have been born within a two-month window?
For one thing, it's not good for my diet.
On another note, sometimes - that is in between two social gatherings thoughtfully put together to commemorate the life of another - I just need some time to reload my creative energy. Refill the tank. And sometimes a milk chocolate tart with almond praline and whipped coffee cream fresh from the oven, all warm and gooey just won't do the trick.
Unless maybe a scoop of vanilla bean ice cream is involved.
That would probably work.
So when I have had a chance to regenerate and the next big anniversary is just around the corner, my favorite thing to do is not to make paper garlands or fancy hats. It’s not the birthday games planning or baking an almond and lemon poppy seed cake topped with candied blood orange slices...
While I love all of those things, what I look forward to the most is putting together the gifts. Not so much the gift shopping, but the arranging, wrapping and decorating of the presents.
Sometimes fancy and over the top, other times simple and neat. Typically depending on the content of the package; the simpler the content, the fancier the packaging.
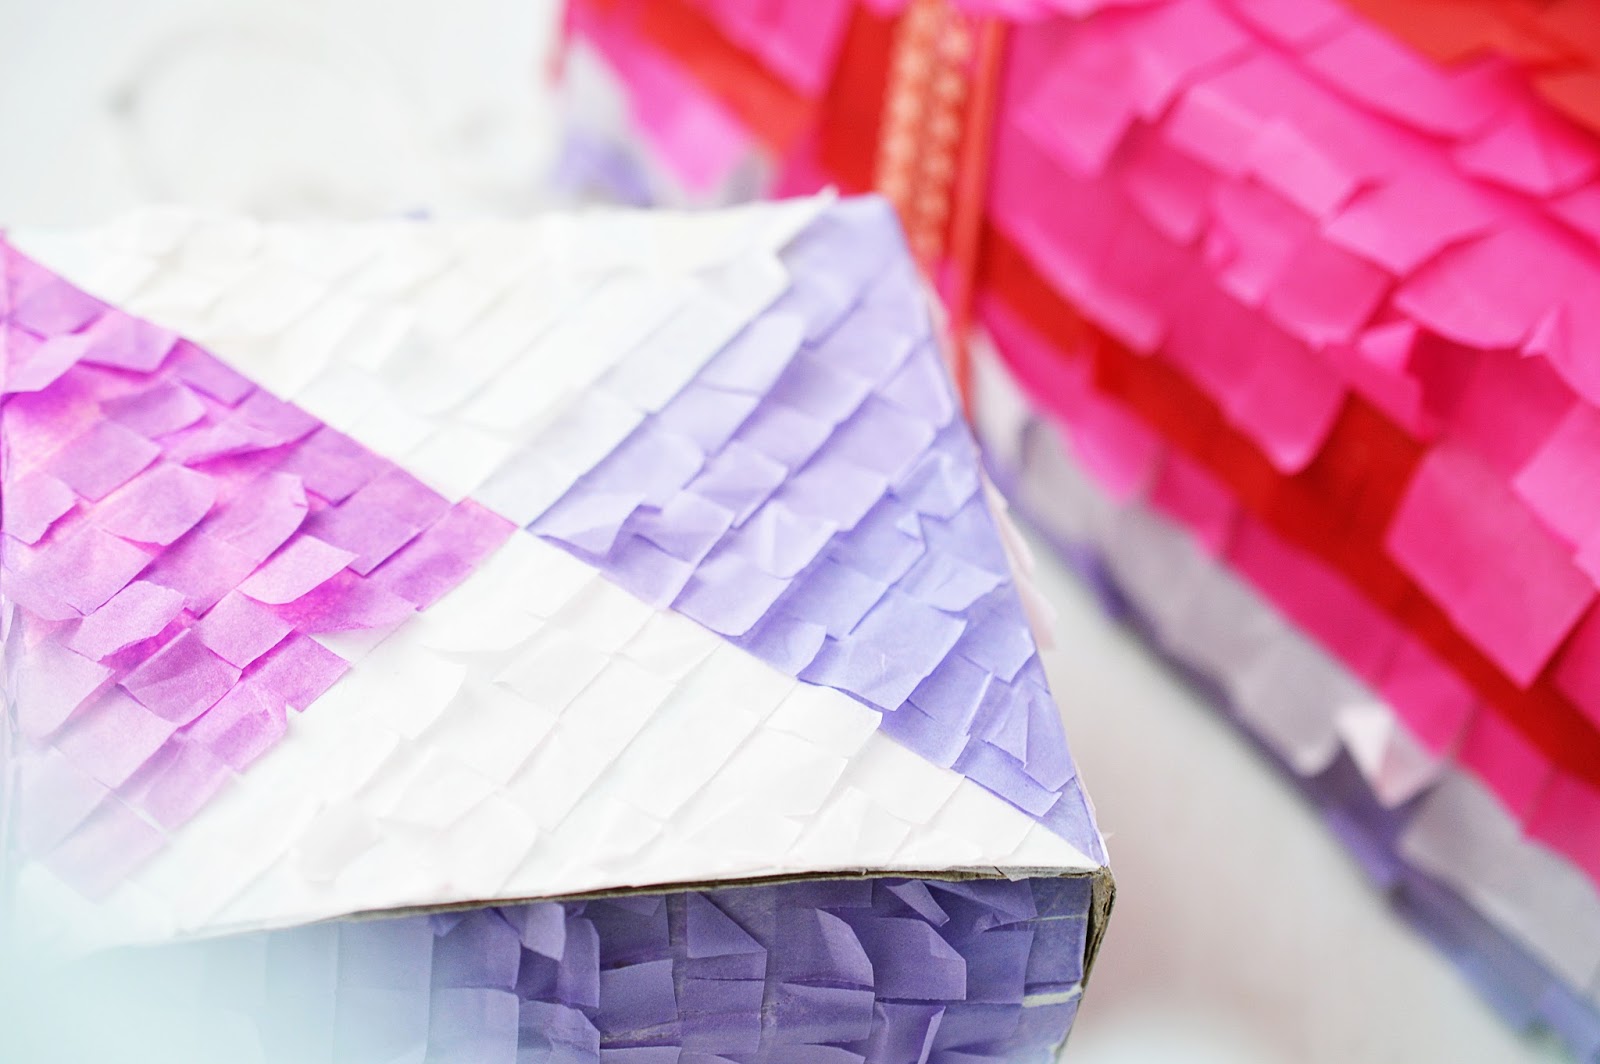
I know how much fun it is to unwrap something beautiful. It creates anticipation and excitement. And when I made a mini pinata for my sister's birthday earlier this year, I fell in love with the frilly texture and colorful design.
And I knew it wouldn't let me go for a while. But since I don't have an immediate need for a candy rainfall, I decided to skip the sweets altogether and just make the pinata shell.
I know I know, it sounds tragic, preposterous to some perhaps, but if the party's any good there are still the seven layers of chocolate brownie, coconut and raspberry with a pale pink white chocolate frosting, caramel drip and crushed pistachios.
Because yum!
So to make the sugar-free pinata gift box,
HERE'S WHAT YOU'LL NEED:
MATERIAL:
- gift/paper box
- tissue paper in a variety of colors (alternative: crepe paper)
TOOLS:
- scissors
- glue stick
Step 1: Briefly review the size of your gift box to make an estimate of how much tissue paper will be needed and how long the paper strips should be approximately.
Step 2: Cut the tissue paper into long strips about 3-4cm wide. You might want to adjust depending on the size of your box and your personal preference. To quicken the process, layer the paper to cut several sheets at a time. Ideally, the strips are as long as the side of the box you are working on, but you can easily layer the strips if not long enough, or cut them down to size.
Step 3: Fringe the paper by cutting it every centimeter or so along one of the long sides.
Step 4: Generously apply adhesive to an entire side of the gift box with a glue stick.
Step 5: Start positioning the strips onto the gift box starting at the bottom and moving upwards: Glue the first paper strip onto the bottom edge of the gift box making sure to keep the frilly end from sticking to the box. Place the second strip of tissue paper just above the first. Again, be careful to have the frilly side facing downwards overlapping the first strip, but not getting in contact with the adhesive.
Continue, moving towards the top edge of the box, alternating colors.
Step 6: Once finished, cut any excess paper from the sides.
Surprise!


Fantastic idea :) It's definitely the prettiest wrapped package I've ever seen.
ReplyDeleteThank you, dear Emma. It is indeed a different kind of wrapping paper, but oh so pretty! ;)
Delete