Looking back at my childhood, I recall fond memories of play dates involving iron-on beads: hundreds (nay, thousands!) covering the living room floor, the smell of plastic in the air, multi-colored heart-shaped coasters, rainbows ranging from grey to brown to grey, and puppies that bear more resemblance to shell fish than a juvenile dog.
And as it turns out – twenty years later – I still have hundreds of iron-on beads in my craft supply storage. (What a blessing that they are sold in packs of 1000 or more; wouldn’t want to run out, now would we!) I only just had the stomach to throw out said puppies (scallops?), automobiles and many, many snowflakes which – if not to rest beverages upon – where at least meant as a gift to my dear parents who didn’t seem to have long-term use for them either. Which is odd because I distinctly remember my parents squealing in delight over their offspring’s stunning creations. Surely they still drink that one/two cups of coffee each morning!
So how those delightful beaded products ended up at my place is beyond me.
And yet, I dare claim that a revival of iron-on beaded crafts is in order! We are well beyond the point of viewing plastic beads as merely a child’s play thing. With our adult minds, surely, we can come up with more creative uses for the little things!
And if not, there are still many people in our family circles in need of some decent coasters!
Much easier to handle than potato stamps let me tell you!
Plus, they are re-usable without the plastic actually visible in the final product.
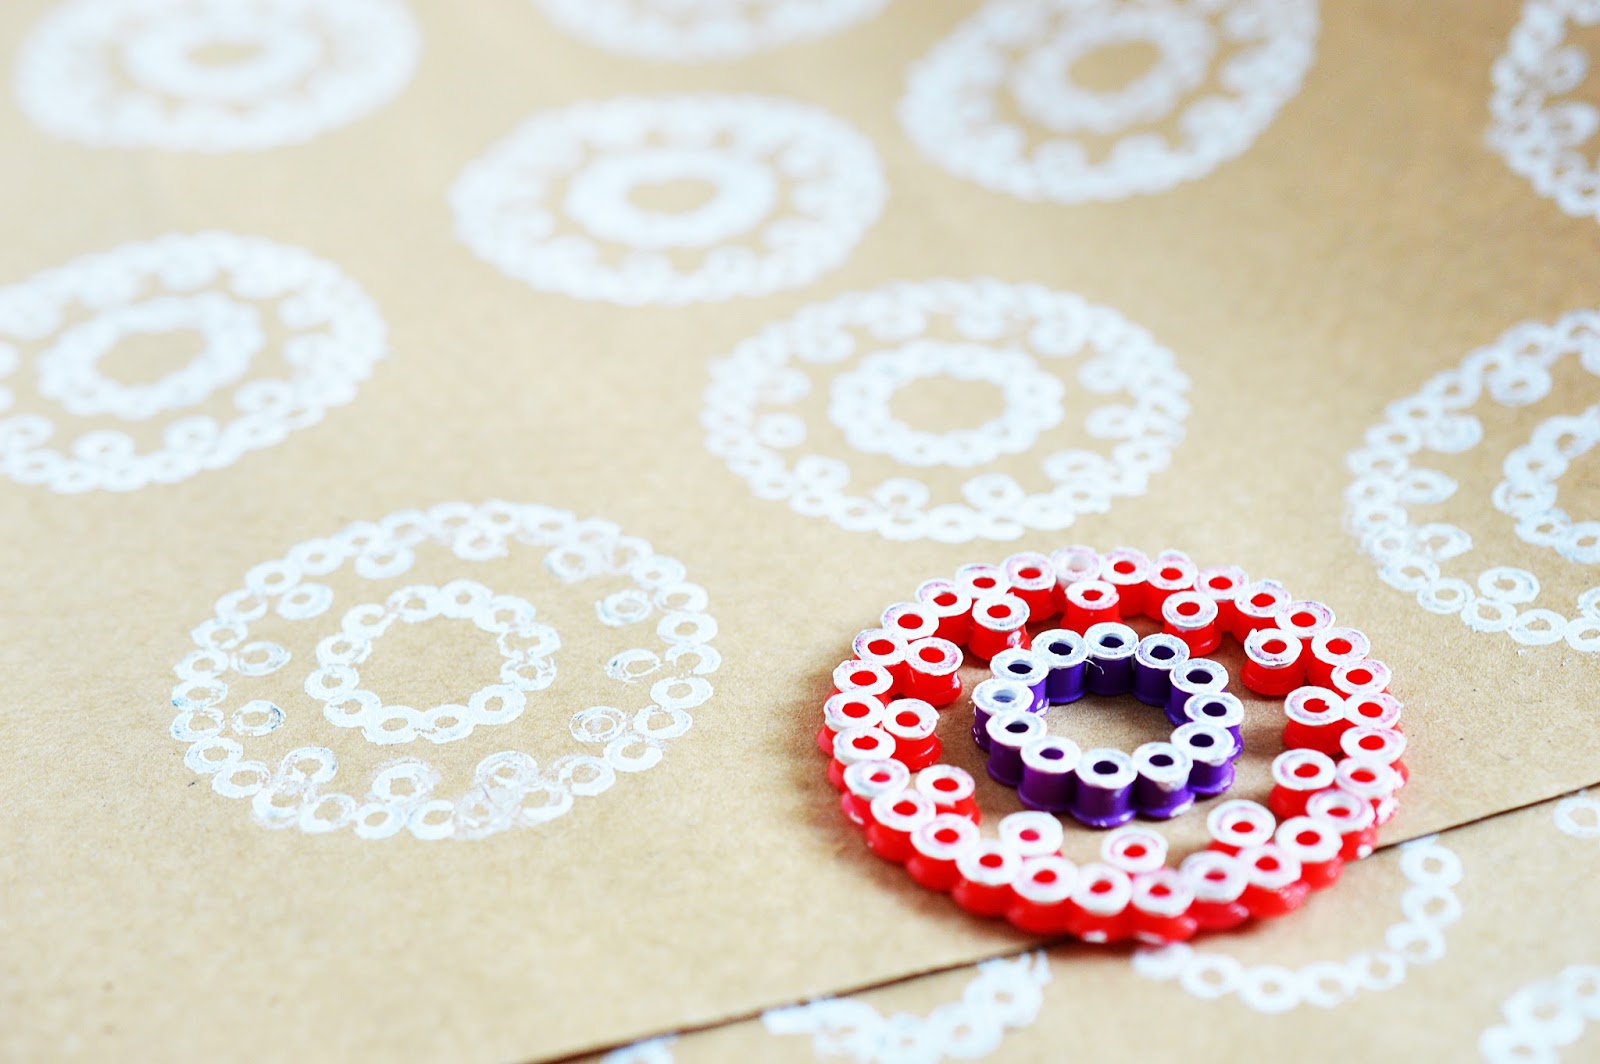
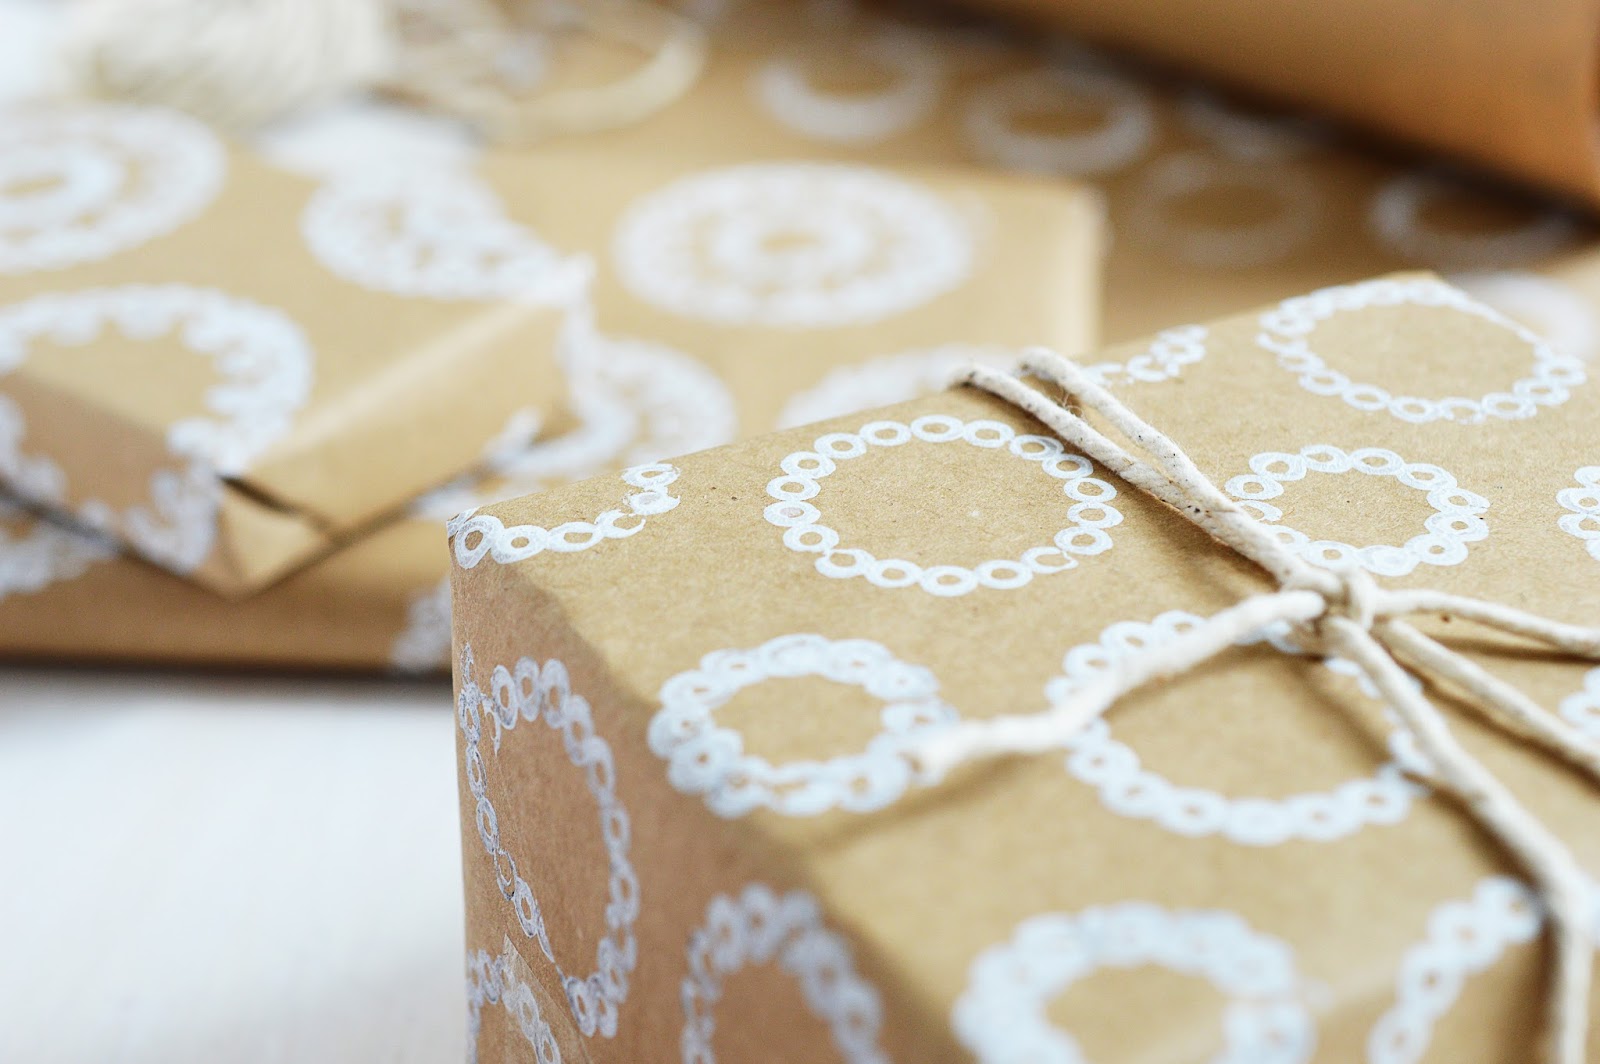
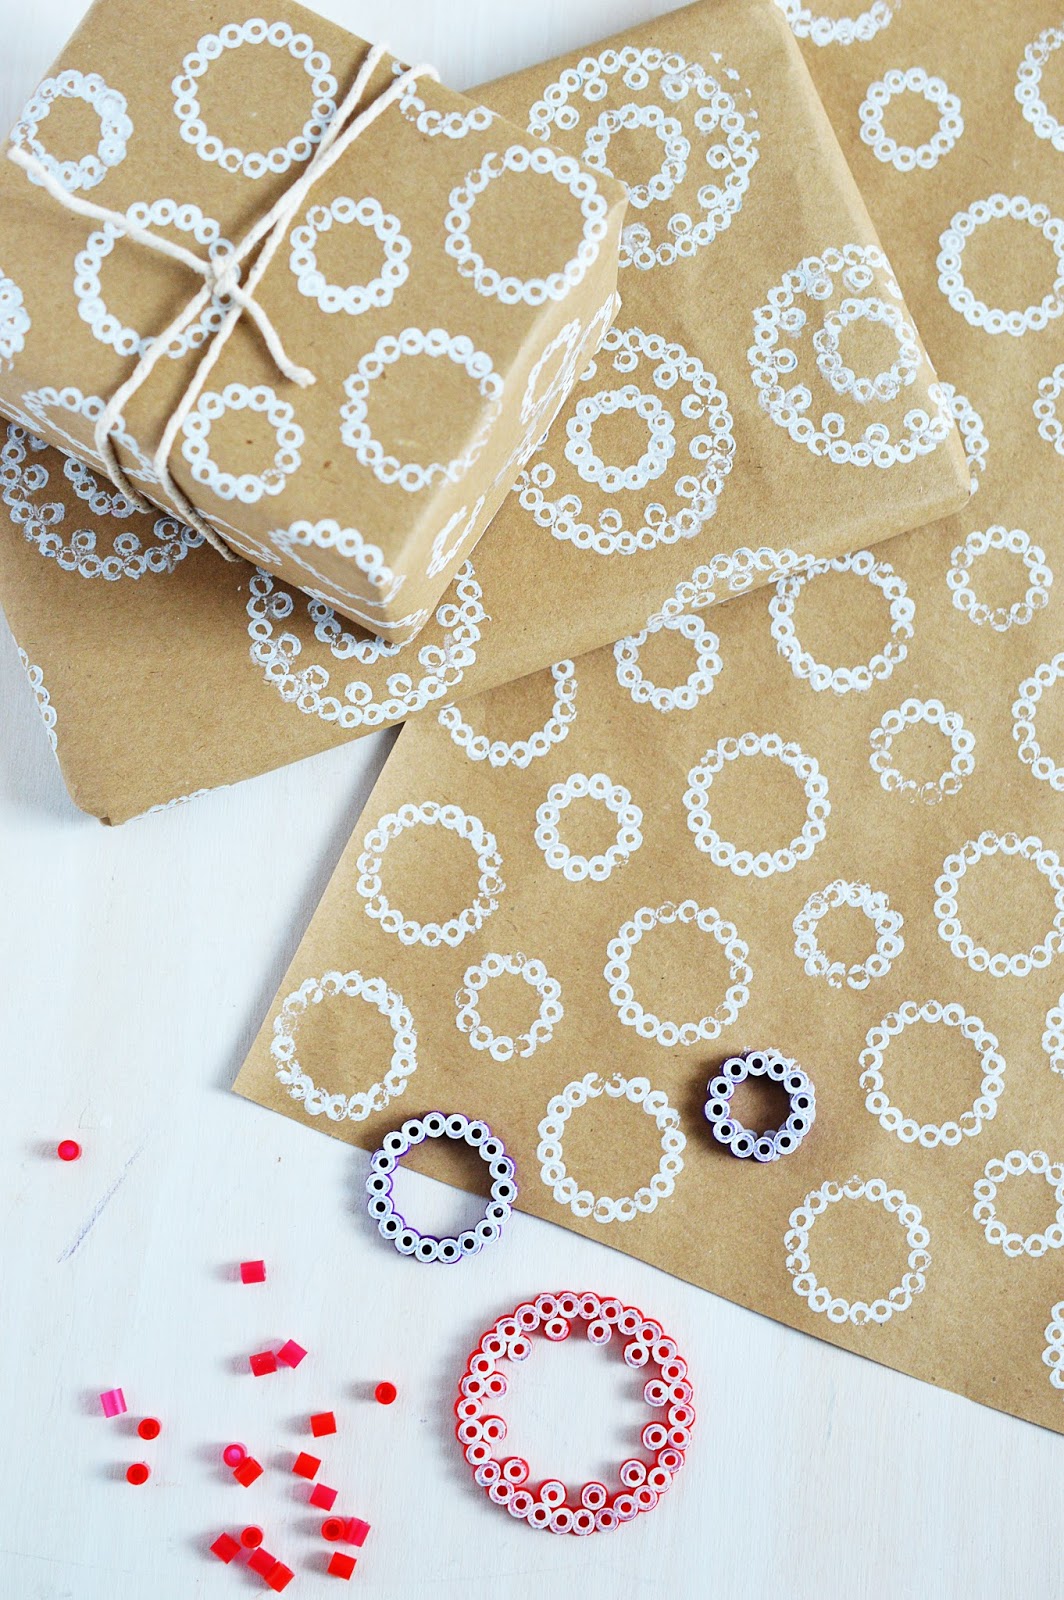
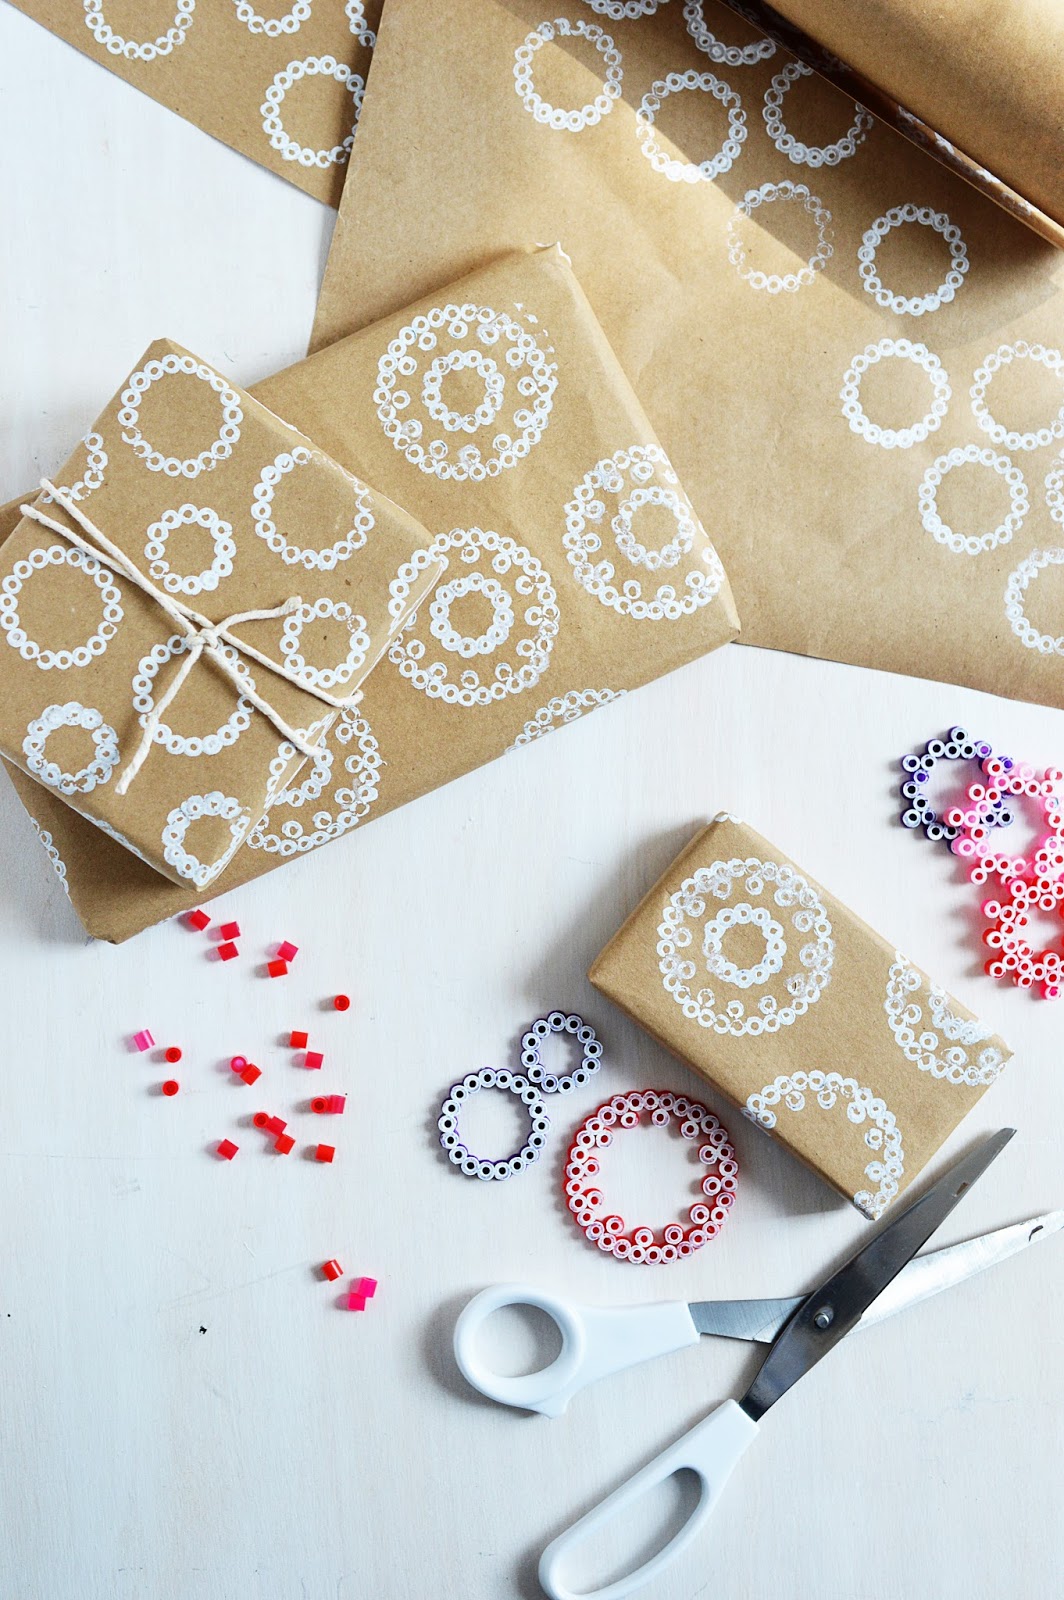
Speaking of products, you can stamp most surfaces, depending on the paint you are using. I opted for simple brown packing paper and acrylic paint to design my own wrapping paper. This is a great way to personalize a gift, or simply create the wrapping paper you can never find in stores, but have always kept your eyes peeled for.
If you’re not yet convinced, luckily, fellow blogger Laura from TRYTRYTRY has provided us with plenty of inspiration in her craft book “Just Bead It”. Be sure to check out what she has come up with.
To launch her new book, Laura has also infected other craft bloggers with her enthusiasm for iron-on beads (myself included) and invited them to come up with their own projects. Be sure to visit their blogs to see what their grown-up minds have manufactured:

HERE’S WHAT YOU’LL NEED for the iron-on bead stamps:
MATERIAL:
- iron-on beads
- brown packing paper
- acrylic paint
TOOLS:
- pegboard
- parchment paper
- iron
- scissors
- flat paint brush
Step 1: Arrange the iron-on beads in the design of your choice on your pegboard. I opted for round shapes in a variety of sizes.
Step 2: Cover your pattern with a sheet of parchment paper and iron on medium heat for approximately 30 seconds, or until the beads have slightly melted and stick together, thus holding the pattern together. Be sure to iron on a non-flammable surface. Let the design cool before removing it from the pegboard.
Step 3: Roll out the brown packing paper and cut to size. You’ll want it to be large enough to fit around your gift nicely. Once cooled, cover the back of your bead design with acrylic paint using a flat paint brush. Alternatively, spread out some paint on a clean, flat surface and press the design down to pick up the paint. Be sure to cover the right, non-ironed side of the design with paint.
Step 4: Press the design right-size down firmly onto your parchment paper to transfer the design, then lift off.
Keep stamping until you’re pleased with the result. Don’t worry about creating perfect imprints; the result doesn’t have to be perfect. In fact, it rarely will be. If necessary, you can always go in and make some corrections using a pen in the corresponding color.
Happy wrapping!






Das ist ja eine tolle Idee! So werden Geschenke ja gleich viel schöner. Das eignet sich bestimmt auch gut für Weihnachtsgeschenke. :)
ReplyDeleteLiebe Grüße,
Filiz
Ja, gerade mit Sternen und/oder Schneeflocken stelle ich mir tolle Geschenkpapiermotive zur Weihnachtszeit vor!!
Delete