It's no secret that I am into butterflies and moths and other winged bugs of all shapes and sizes. No discrimination here!
Though I do draw a line at the juvenile form of the Cereal Leaf Beetle. Can I get a YUCK mam! Google those and you will never sleep again.
Trust me, they have absolutely nothing to do with cereals!
Actually, you can put most bugs in the larval cycle on my list of bugs that gross me out!
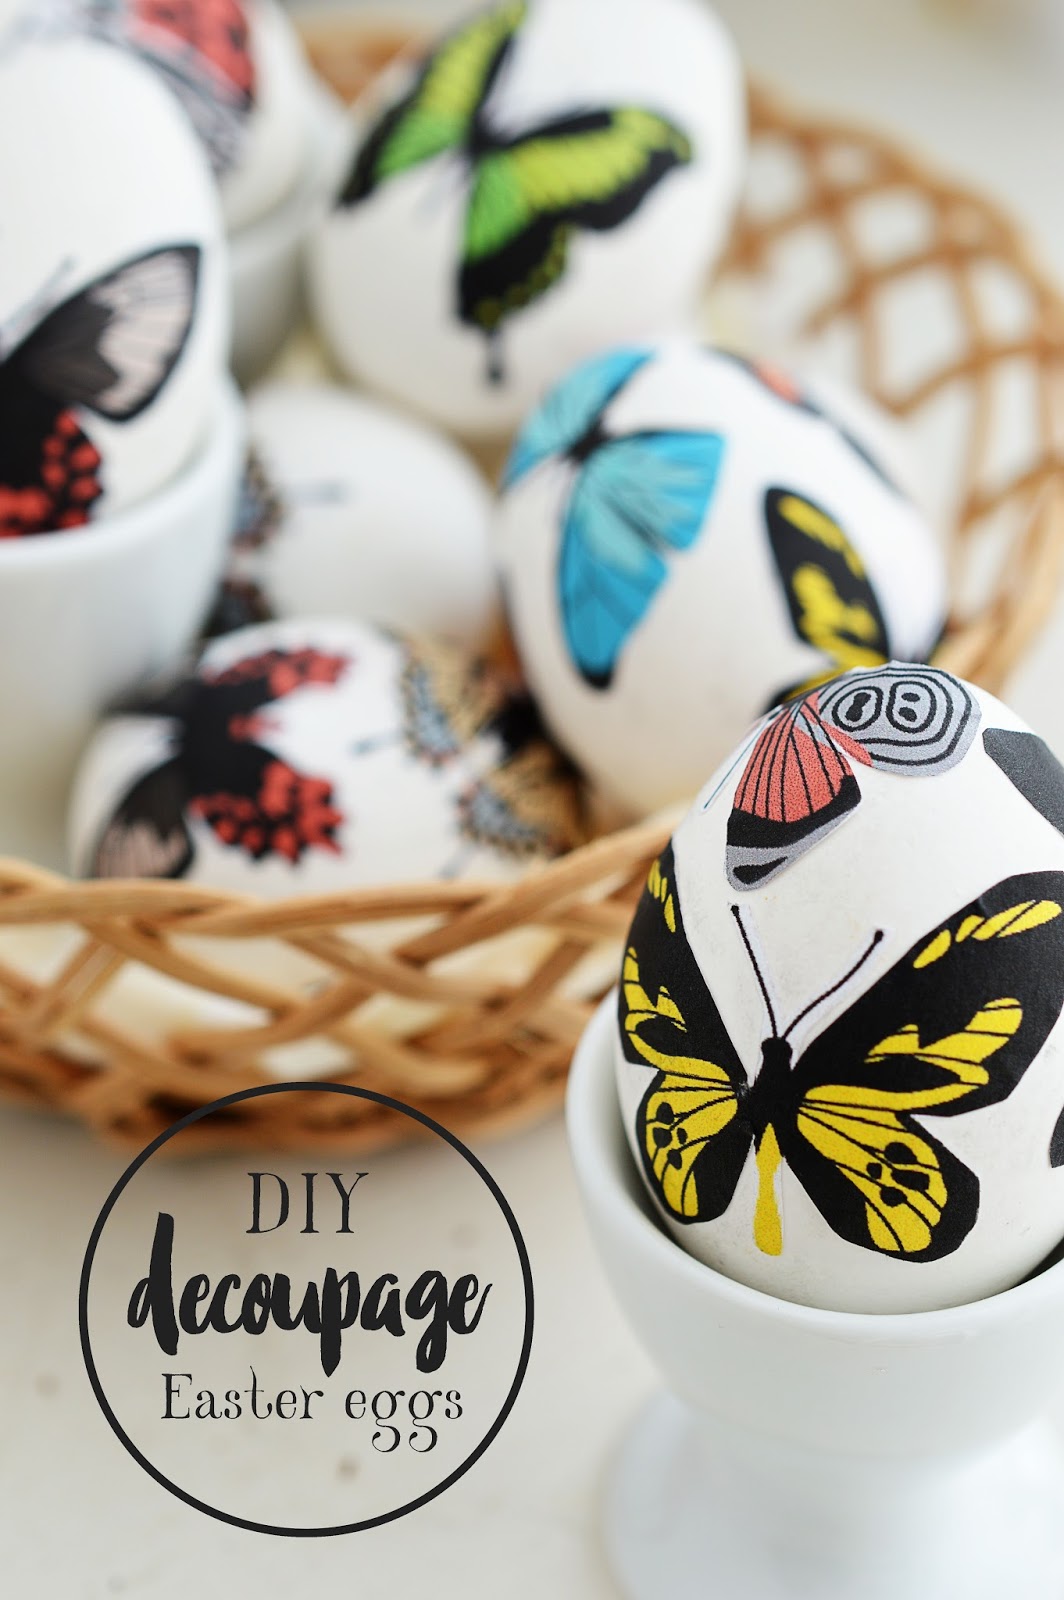
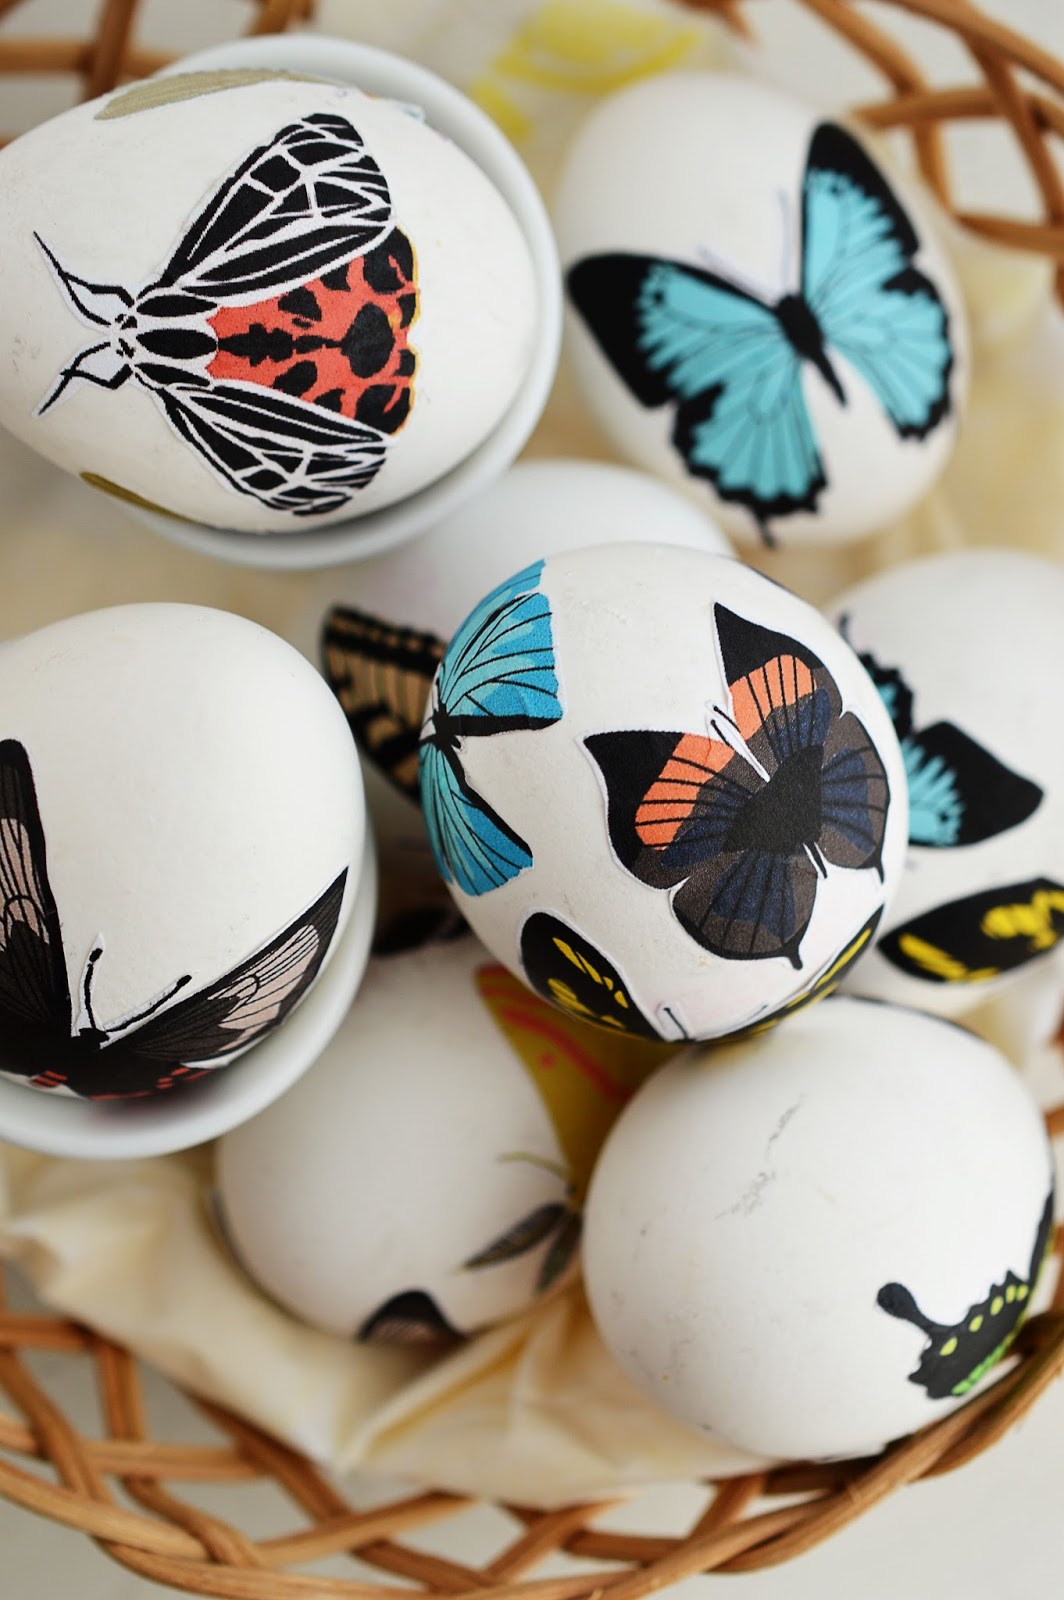
So that minor intolerance aside, it actually comes as a surprise to me that I have never thought of adorning Easter eggs with my little bug friends. So this year, that is just what I wanted to do! Naturally.
But since I don't have the patience to paint butterflies - you know with a paintbrush and the lot - I figured that decoupage is the way to go!
It can't get any easier than decoupage - probably the easiest way to spruce up any item in the house really!
I learned to decoupage at a friend's birthday party during my elementary school years. We glued napkin designs onto tiny cardboard boxes. I turned one into a bed of sunflowers while the other was adorned with sea shell motifs.
I didn't really think of adding butterflies at the time. Fittingly, I stored little insects I made from beads and wire inside the boxes though - so there you go.
I am obsessed.
That's ok though, I know how to deal with my condition.
ADD BUTTERFLIES TO EVERYTHING!
Just kidding. It's not that bad.
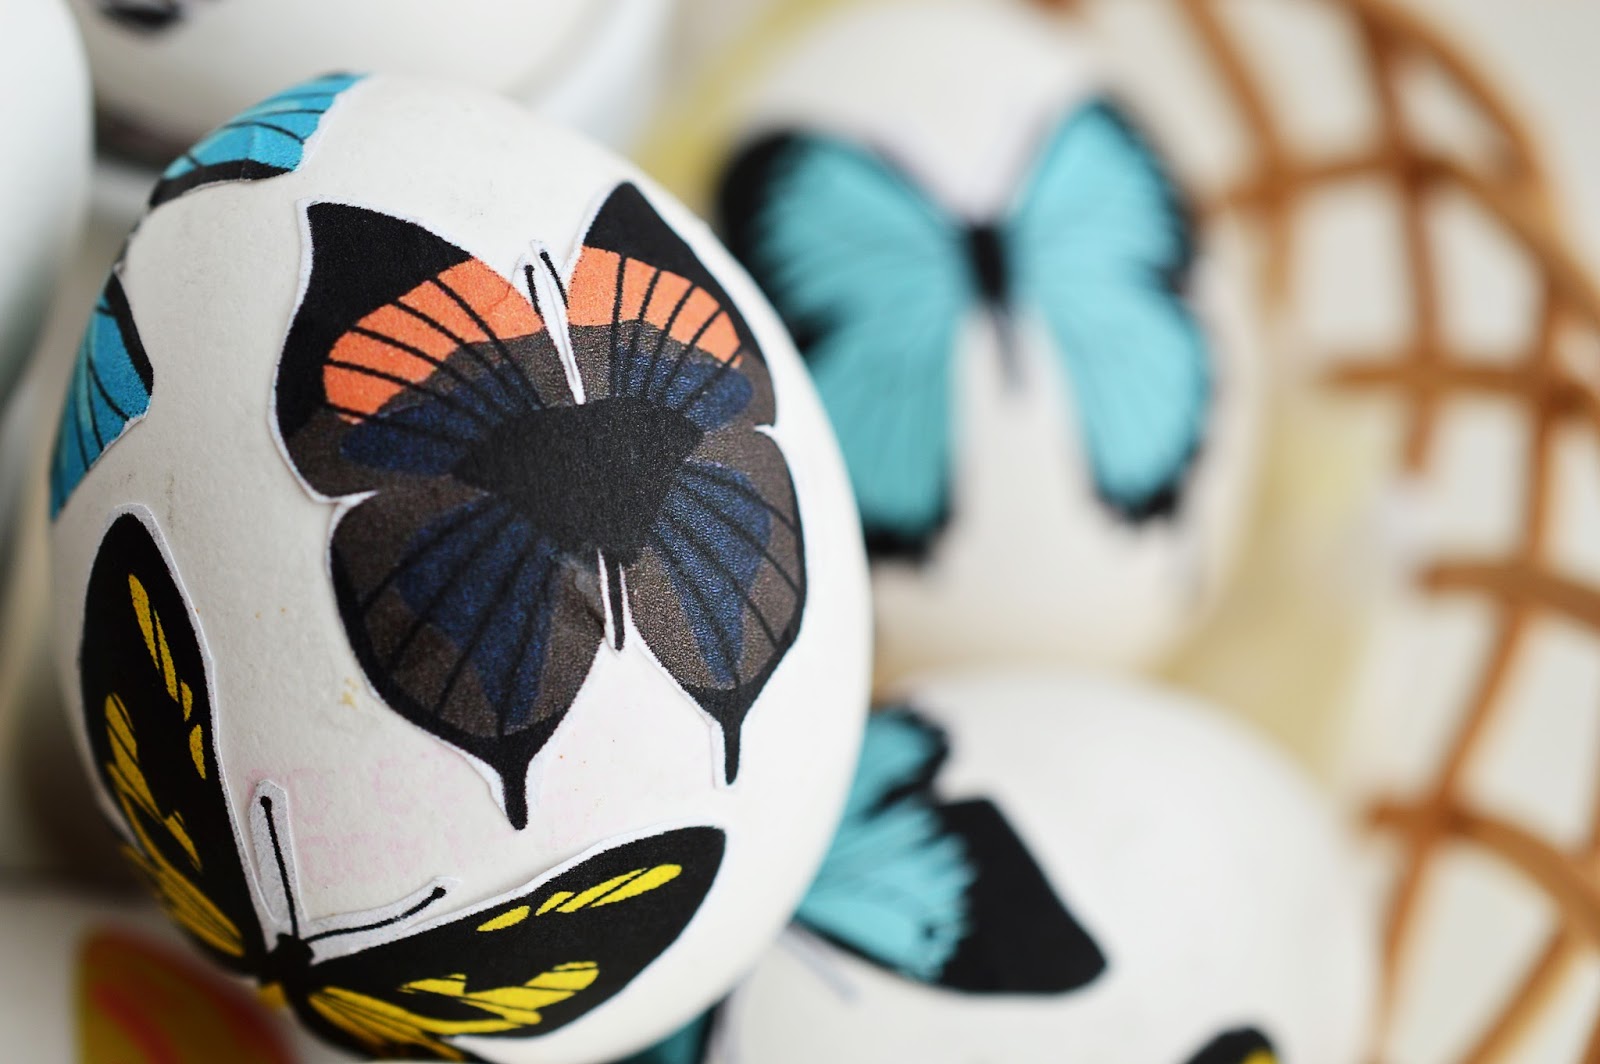
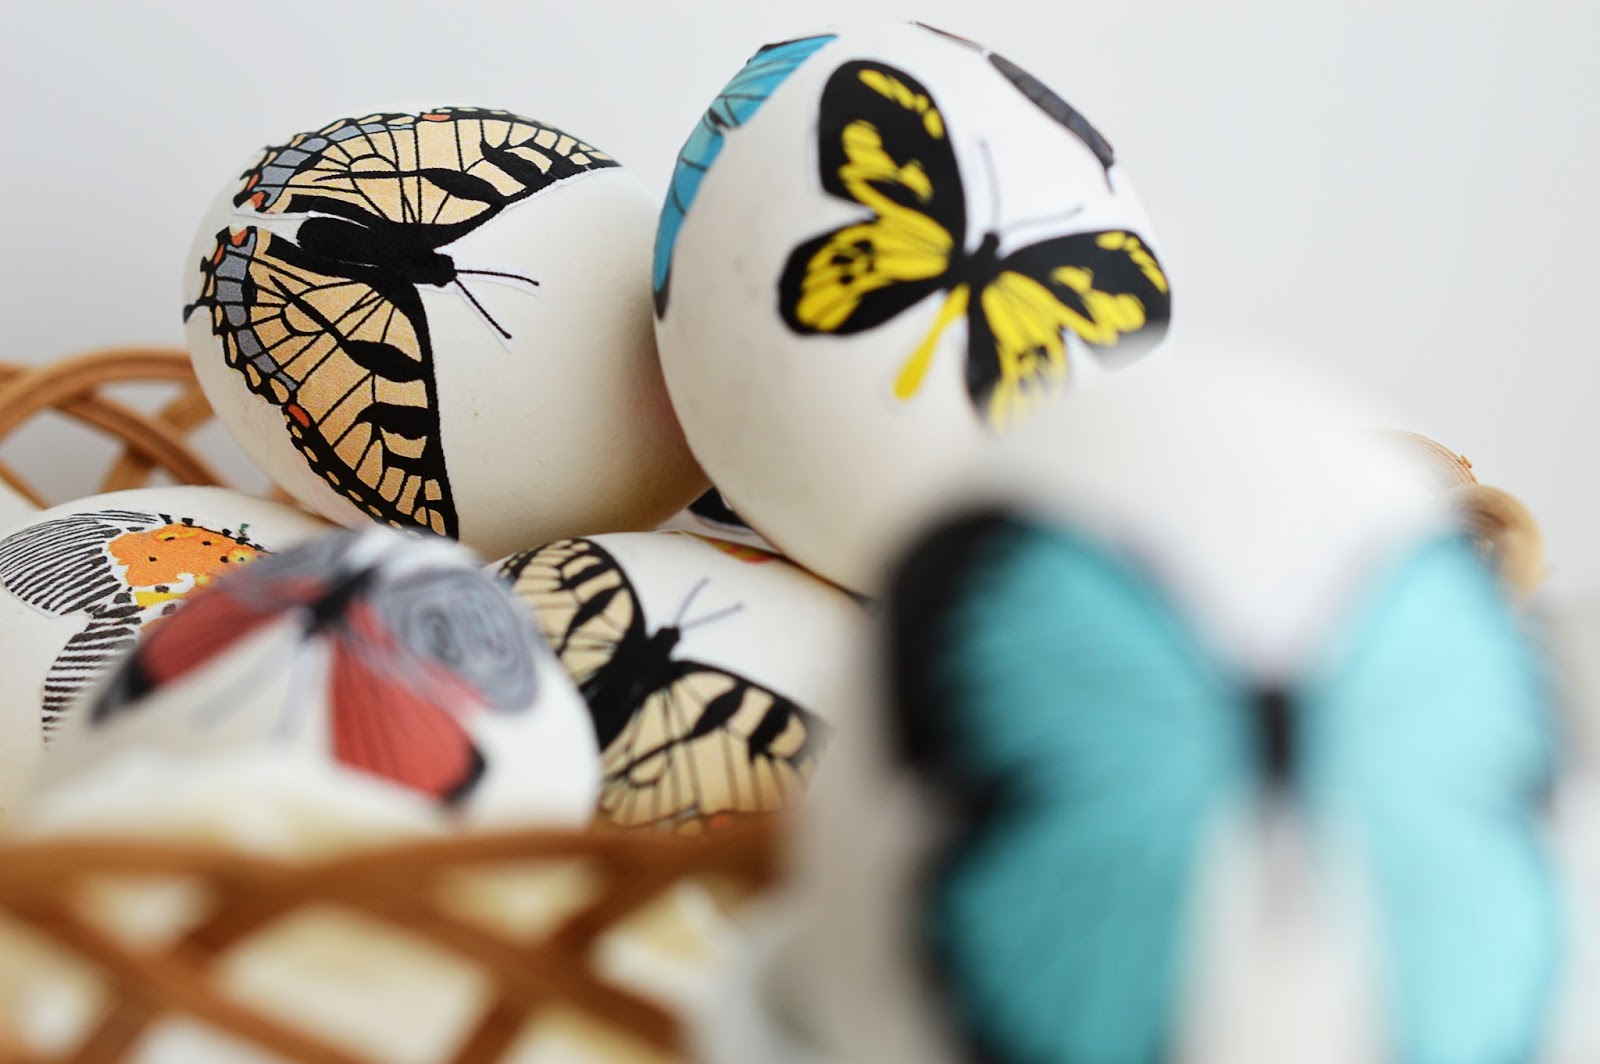
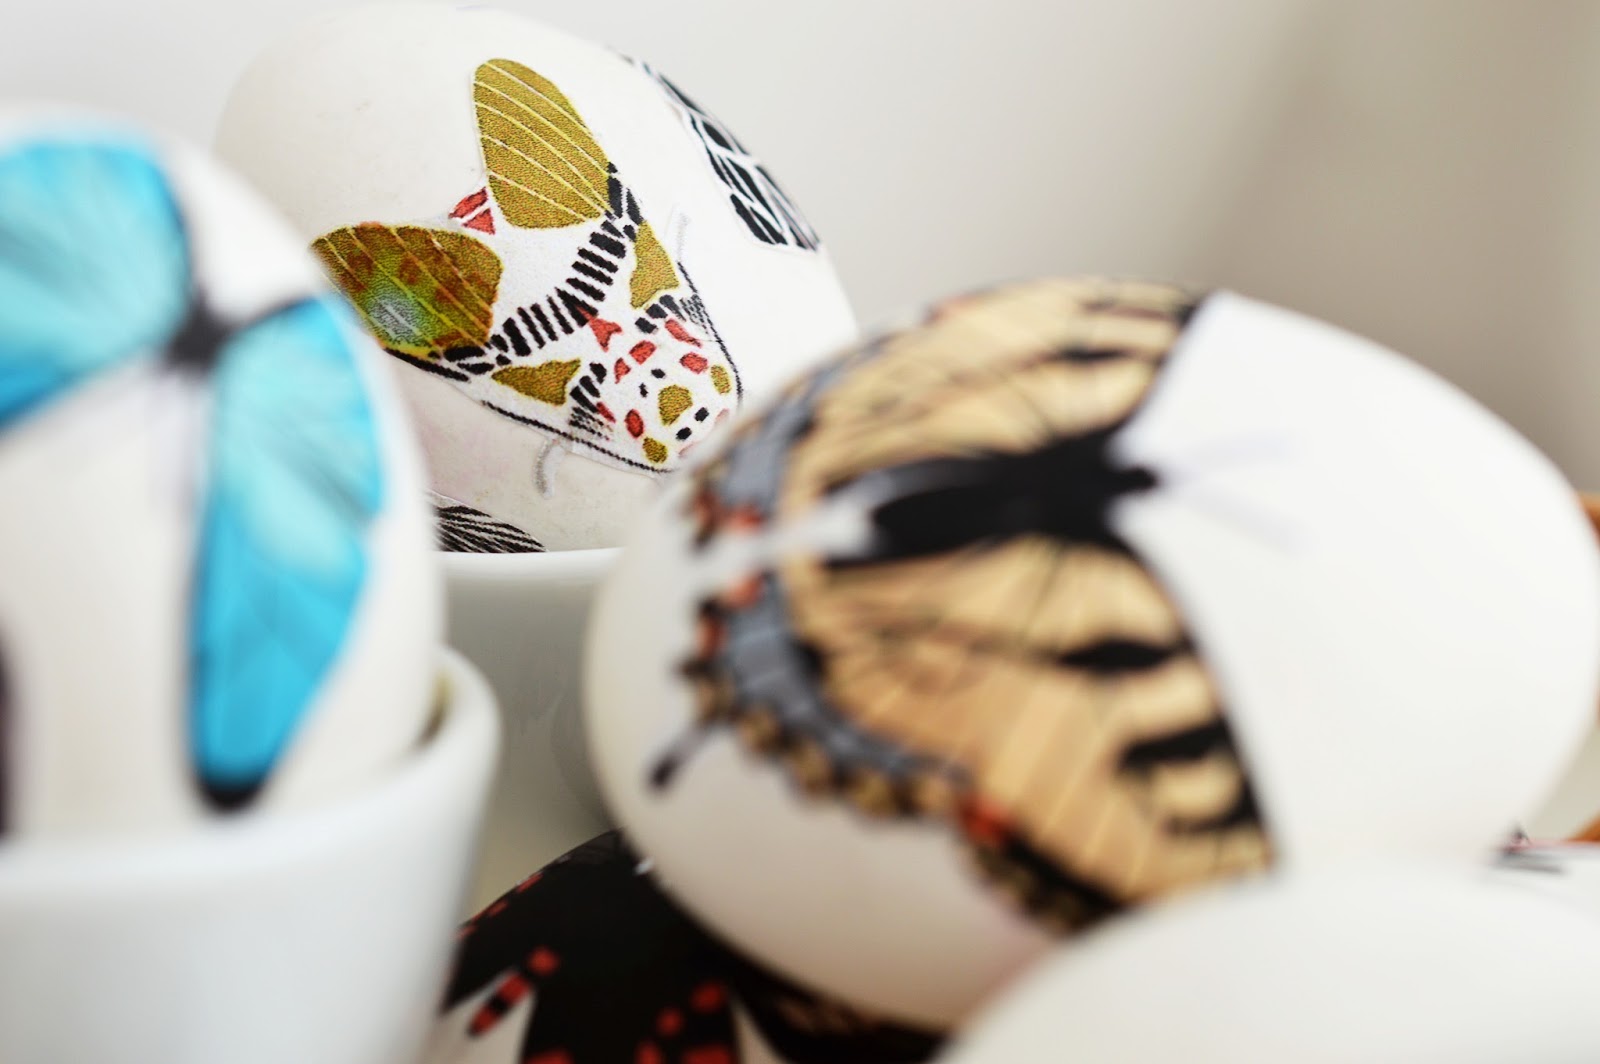
But these Easter eggs, they're pretty fantastic you must admit. They kind of look like they were cut from a children's book called something like “The Anatomy of our Littlest Friends, the Bugs".
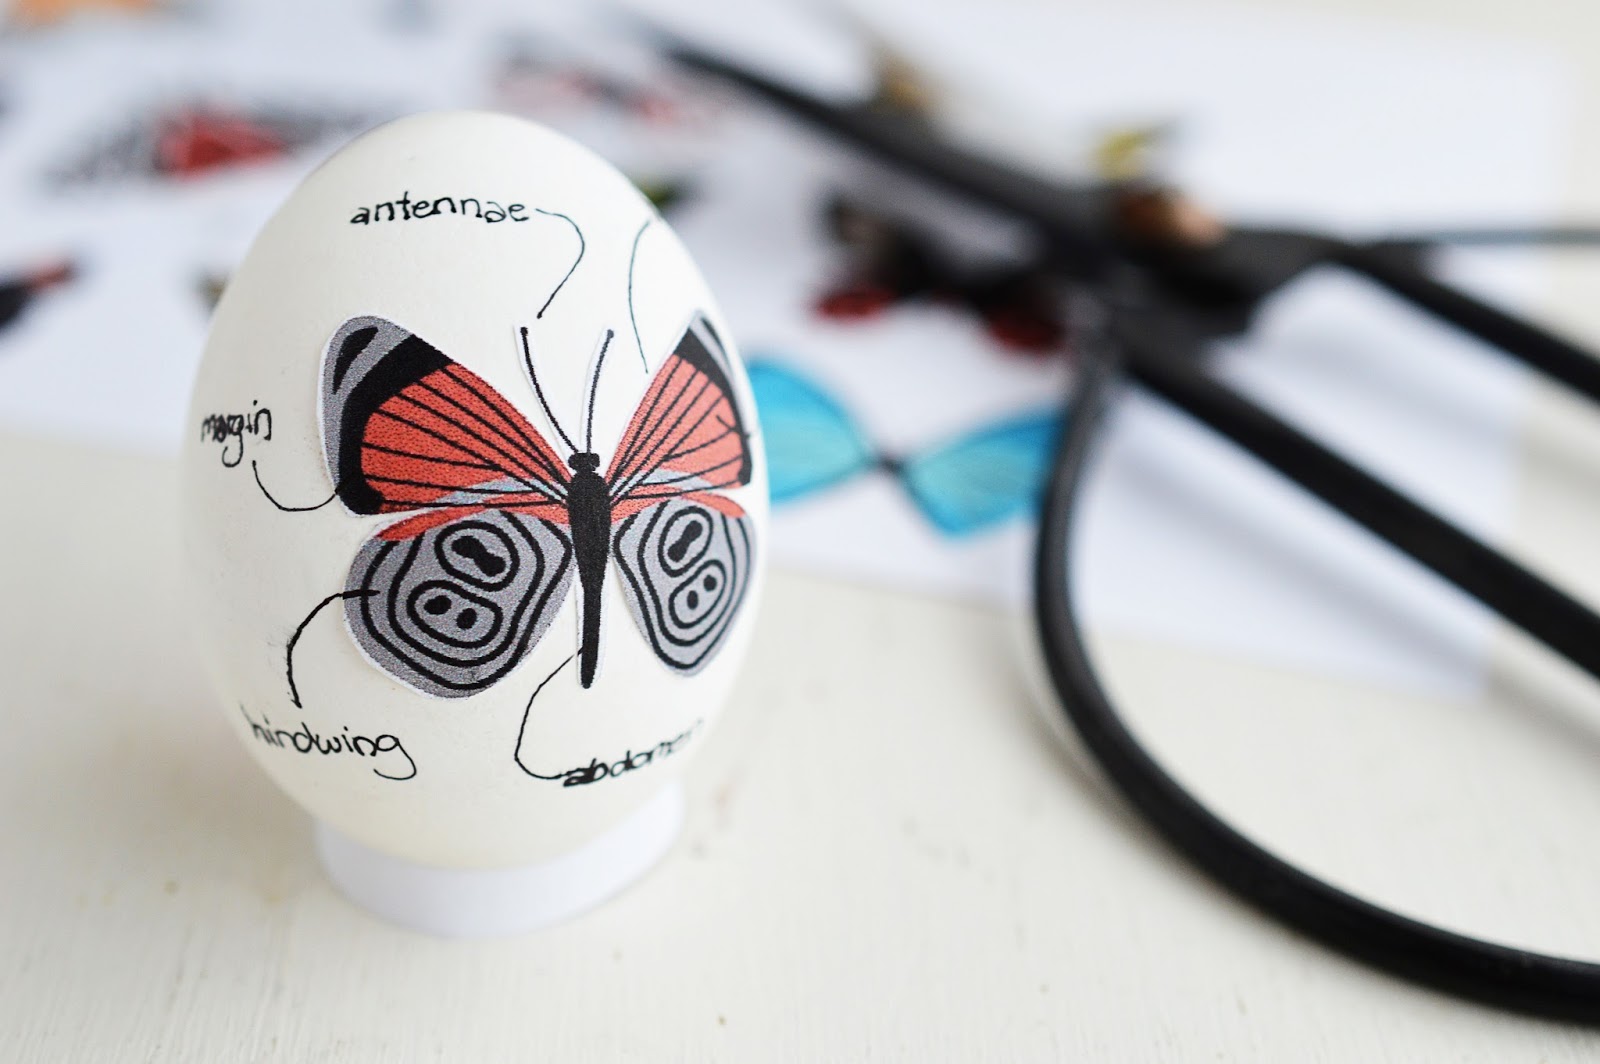
Add informational labels to the images indicating the antennae, wingtip, cell and hindwing to make you Easter egg hunt educational!
HERE’S WHAT YOU’LL NEED for one egg:
- hard-boiled egg
- paper
- printer
- scissors
- Mod Podge, matte drying
- paint brush
Step 1: Paper napkins work best for decoupage, so if you can find a design you like I recommend using those. Otherwise, simply print off your desired design onto thin paper. (I got my images/free vectors from Vecteezy.com.) Be sure to use toner that won’t blend so the color won’t smear when the top coat is applied.
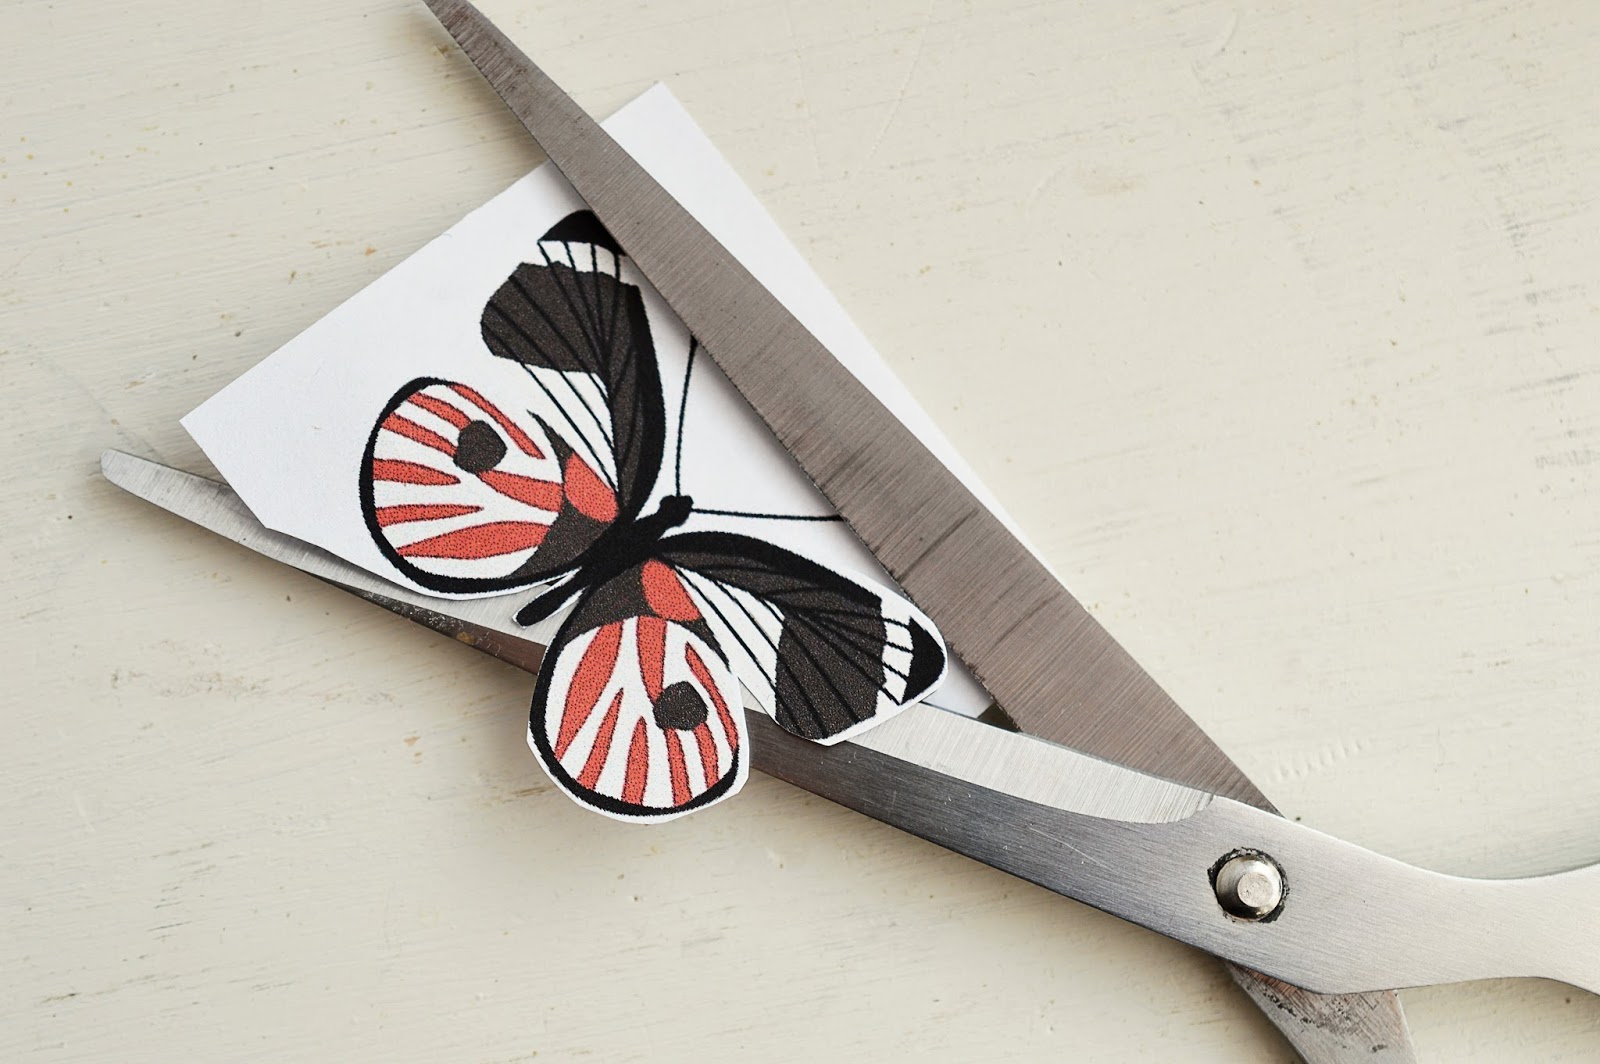
Step 2: Use scissors to cut out the design close to its edges. Don’t worry about leaving a small border around the image.
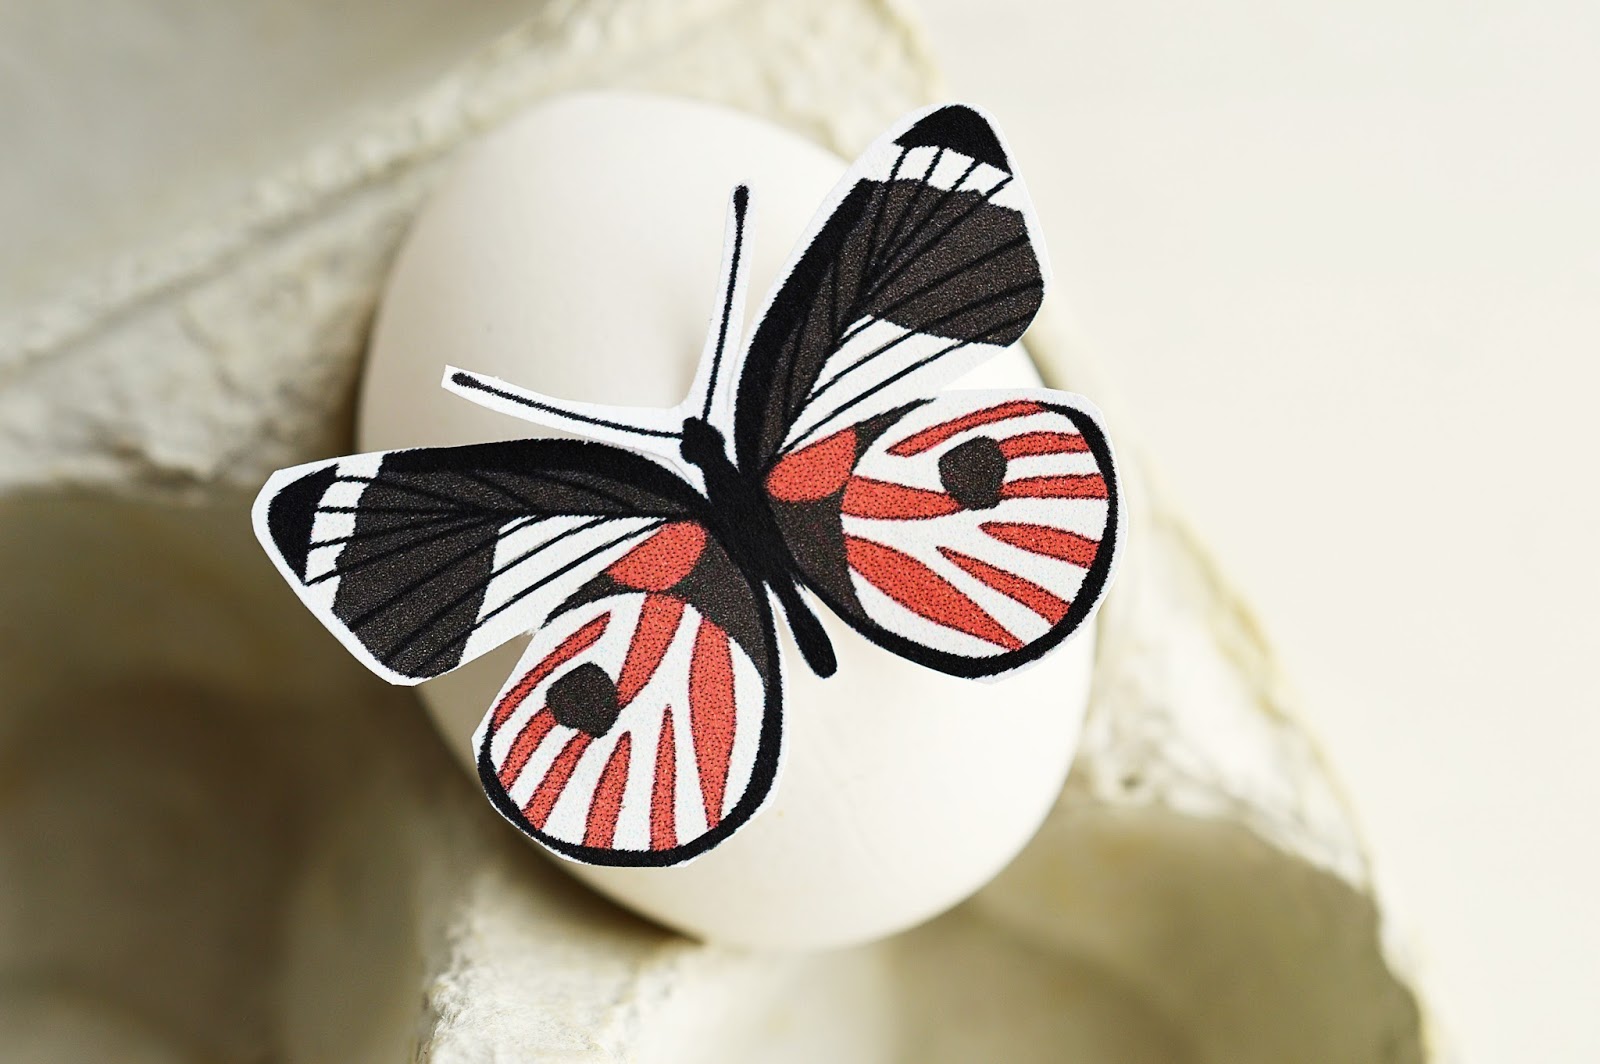
Step 3: Place the image you just cut out onto the hard-boiled egg to figure out the desired placing. Make sure the surface of the egg is clean and dry. Once you are ready to go dip your brush into the Mod Podge and apply a thin coat where the image will go. A sponge brush will work best, but a bristle brush will do also. If you do not have any mod podge at hand, mix some plain white glue with water (50%-50% ratio), stirring well.
Step 4: Carefully lay the image onto the area to which you applied the glue. Try to avoid any bubbles or wrinkling. Add another layer of glue on top of the image smoothing it as you go along. Move the brush from the center outward. Let dry.
Step 5: Add labels using a permanent marker.
Do you suppose the Easter bunny knows how to decoupage?









They are beautiful! What a good idea.
ReplyDeleteThank you so much!
DeleteThose are fantastic! What a great idea! Can't wait to do this!
ReplyDeleteYes, you should definitely give this a try! It's great cause you can use any motif too!
Delete