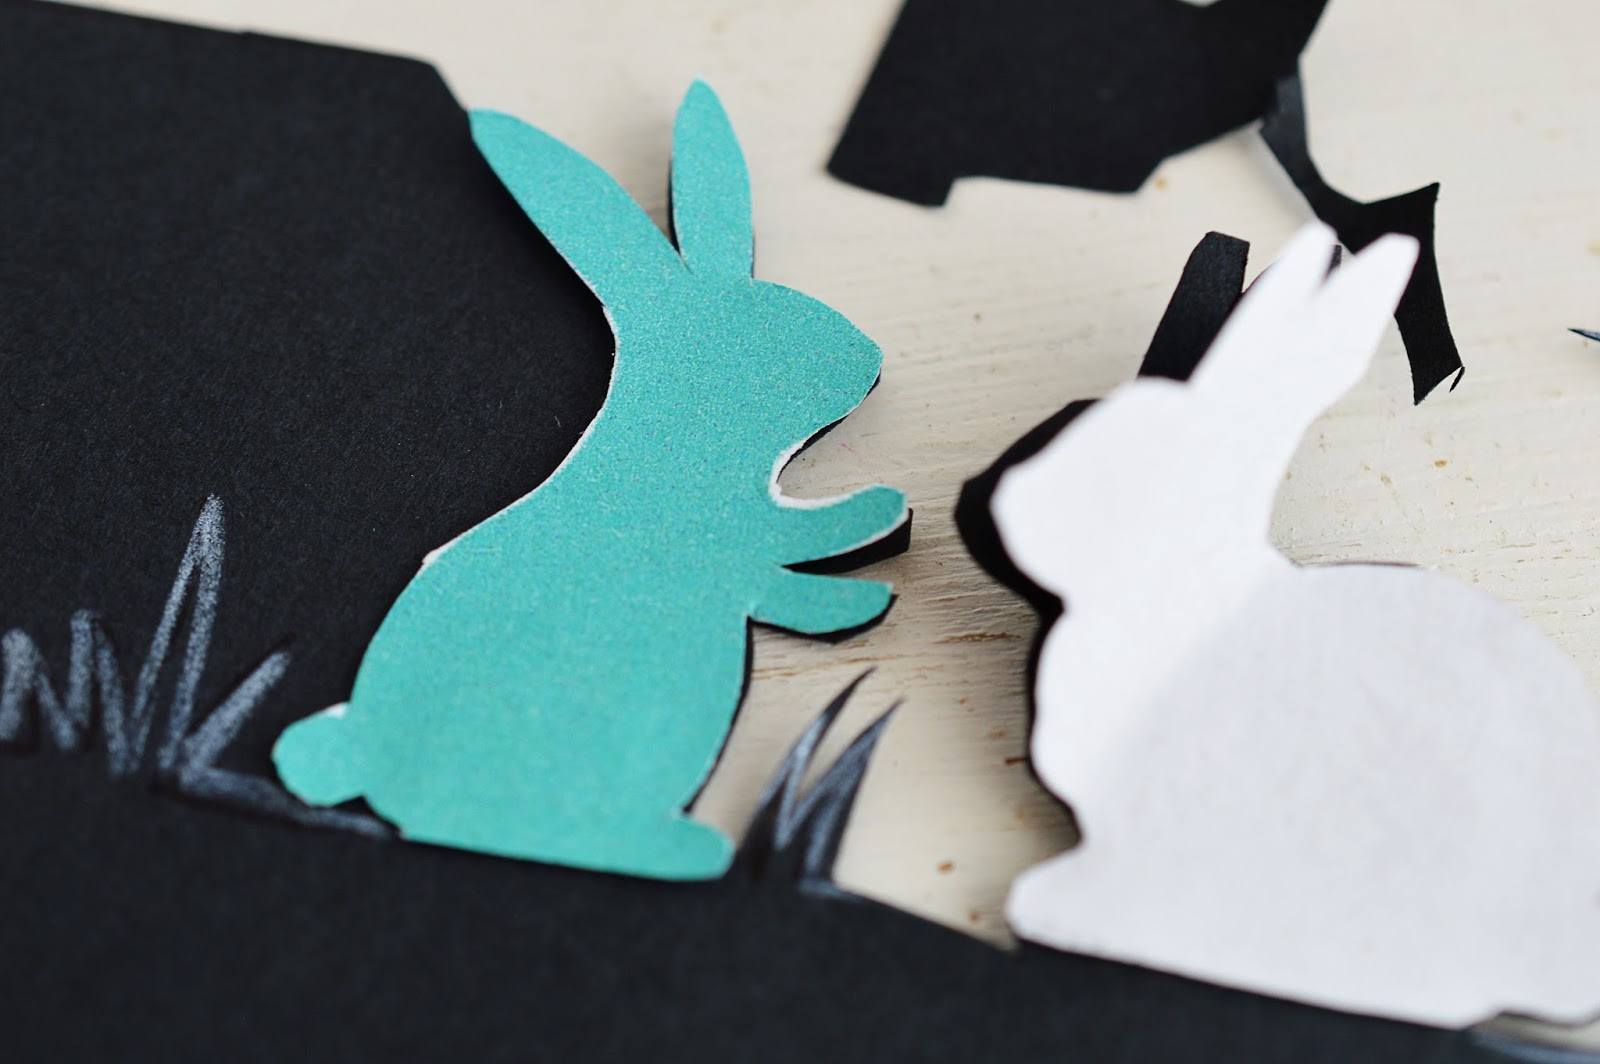
I will admit this project did not turn out entirely as I had planned. But that's probably a good thing.
When I was younger, I loved painting Easter eggs. Getting those hard boiled eggs all dressed up for Easter was a real treat. You know, lending the Easter bunny a hand; he just never seemed able to get the work done by himself.
But as I slowly grew older it seemed like a chore more often than not. My siblings would "give me the honors" and I would sit and paint so the entire family would have something pretty to hunt for and dig into at the breakfast table.
So reluctantly, and fresh out of ideas after years and years of applying paint, I'd finally manage to finish that one egg. And I'd either love it or hate it.
If I hated it, clearly, I was pretty much over the whole project right then and there. I'd throw a fit, vow to never paint another egg in my life, then finish the rest of them.
If I loved it, well, similar story really. You see, I never really understood how I was supposed to live up to my own standard. How could I create another painting anything close to the first? So again, I'd get annoyed, but then realize that people are counting on me to make this holiday a success. Which really came down to the eggs.
I guess at the time it didn't really occur to me that you can decorate Easter eggs in more ways than one. I believe in kindergarten we used pipe cleaners, feathers and cotton balls to transform blown-out eggs into little chickens and bunnies, but at home we'd always get out the water colors.
So instead of covering each egg in dots and stripes of watercolor paint, why not find a creative way to display your plain white (or brown) eggs? With baskets, ribbons, or in this case, egg cups.
I will admit, as indicated before, that - this year, once again - I didn't come to this realization until I was already halfway through the project. I really wanted to adorn the eggs with a paper band that reminded me of Victorian silhouette cutting. But soon figured that it is easier to decorate and reuse the egg cups rather than the actual eggs.
So let me show you how I made these Victorian-inspired egg cup silhouette bands.
HERE'S WHAT YOU'LL NEED for one cup:
MATERIALS:
- black cardboard paper
- egg cup
TOOLS:
- white pencil
- scissors
- tape or strong glue
- printer (optional)
Step 1: Start by cutting a rectangular strip from the black cardboard paper long enough to find around your egg cup with a little bit of overlap and wide enough to fit your design plus approximately 2-3cm.
Step 2: Using a white pencil, draw your design onto the paper band in the top 2/3 of the strip, leaving 2-3cm of space from the bottom edge.
I printed off bunny silhouettes from the internet as a reference. Place the silhouettes onto the band as desired and fix with double sided tape. Add some grass, flowers or other elements along the length of the band.
Step 3: Use your scissors to carefully cut out the design following your pencil drawings or template.
Step 4: Trim the bottom until the band has the desired width.
Step 5: Fix the band to the egg cup: Add strips of double-sided tape or rolled tape to the inside of the band. If you are looking for a more permanent solution, add a strong adhesive.
Start in the center, pressing the band onto the rim of the egg cup. Move around the cup until you reach the back. Make sure the two ends overlap adding a good amount of tape for extra security.
Whose silhouette will be looking up at you at this year’s Easter table – bunny or chicken?


I'm glad you like it! Easter May be over now but I'm sure it would look nice on any sunday breakfast table also! ;)
ReplyDelete