“Once upon a time”
The camera would then zoom into the first pages of the book and dive right into our magical fairytale world, the first scene of our story. We were very ambitious back then. We had already had experience with several theatre projects, short films and lengthier movies too, so we were now hoping to master the fine art of a green screen to create the necessary effect of plunging into another world.
For that purpose we had even glued a square of green card board paper into the first pages of the book!
Yes, as you can imagine, that did not work very well. We are still no masters of animation, nor conquerors of the green screen – but the book looked great!
And I am bringing the story up for that very reason. My friend was actually the one to make the fairytale book back then and I remember loving it. We were sitting in her garden and she showing me the book with such pride. It had a lot of texture and was covered in brown paint.
I loved the idea that with a bit of newspaper and glue there was no need to invest in expensive props. Suddenly, the thought that anything could be customizable to your specific theatrical needs was very real.
And now, many years later (let’s not count, shall we) I am using the very same technique to make… a spell book for my upcoming Halloween festivities!
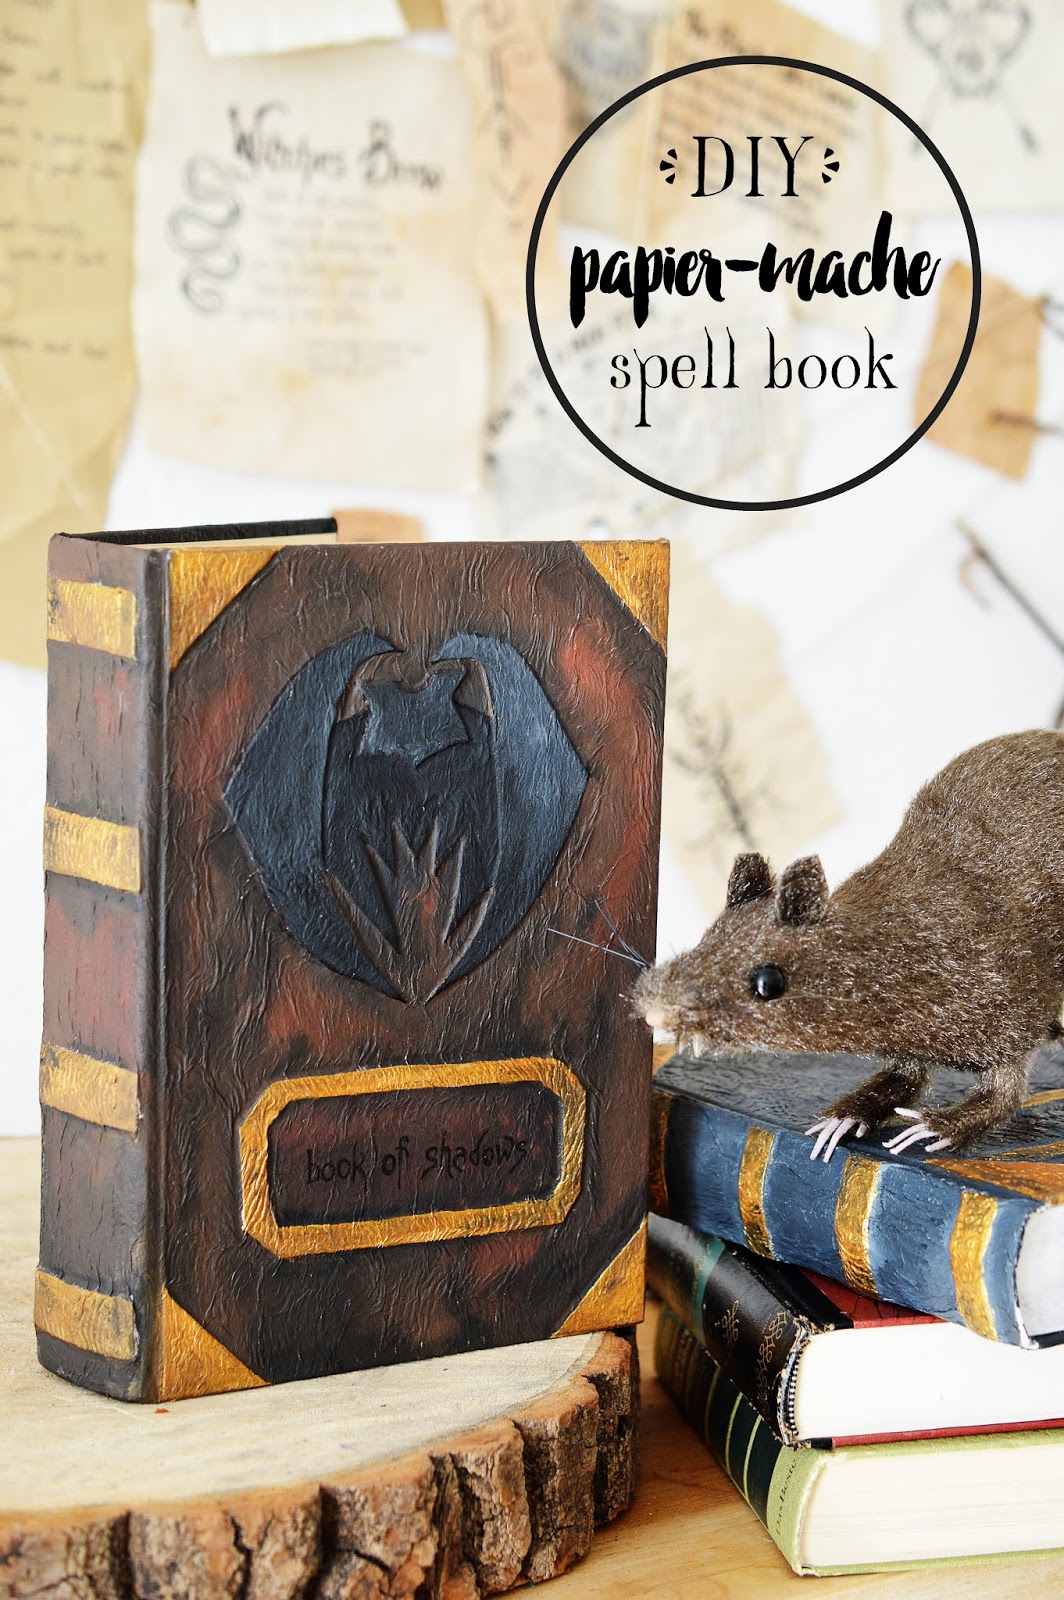
A Book of Shadows, as it is also called, or a Grimoire (which sounds just a tad more grim).
With a witches’ theme coming up I am really in need of a collection of charms and curses, a few remedies too. The Book of Shadows should do the trick and is quite easy to make with this papier-mâché technique.
Since I won’t actually be filling the book with any witch-like content though, I might wrap a short belt around it and simply tie it together. This will give the impression that it is off limits to any outsiders, especially those unknowing of black magic.
I also remember my first encounter with the papier-mâché technique which was a whole lot earlier, probably in my elementary school years. It involved a very large bucket with a whole lot of glue. I’m not sure what we were making (it might have been fake pumpkins actually), but I do recall that it was quite the mess.
I am happy to say that today’s project didn’t get me nearly as coated in adhesive as those faux pumpkins did! So give it a try.
HERE’S WHAT YOU’LL NEED:
- old book
- scissors
- cardboard paper
- liquid glue
- paper towels
- bristle paint brush
- acrylic paint
Step 1: Start by cutting out cardboard shapes and arranging it on the book you are working with. I made a bat motif as well as triangles for the book corners. I added strips to the spine for more dimension and a square on the front where the book title should go. Arrange and glue into place. Let dry.
Step 2: Apply a layer of glue onto the entire front of the book. Layer strips of paper towel onto the glue. You can also use any similar materials like newspaper, but paper towels are nice and strong; they won’t tear, but still wrinkle easily to look like worn leather. Paint more glue on top.
Use the back of the paint brush to push the strips into any crevices along the cardboard shapes.
Continue adding strips to the spine and back of the book. Let dry before turning the book over.
Wrap any excess over the edges of the book and glue into the inside of the cover. On the spine, cut off any excess on top and bottom.
Step 3: Once dry paint the book with acrylic paints in your desired color. Work with contrasts and use a wide color palette to create depth. The base of my book is brown with golden details. Get darker towards the edhes of the book and close to any ornaments.
Don’t forget to add the book title as well.
Additionally, I rubbed a charcoal pencil along the pages of the book to make them appear darker, somewhat stained.
Be careful with those spells though!


Such a beautiful Collections thanks for sharing this informative blog with us..
ReplyDelete